Creating a Two-Tiered Sourdough Bread Box with Built in Cutting Board
My sister started a sourdough company in the Phoenix area in 2023 and subsequently sent my wife some sourdough starter. The starter has been used to make many tasty bread loafs that our family has enjoyed – as such, I wanted to send my sister a thank you bread box with her company logo on it. This project was completed in March of 2024.

The Design
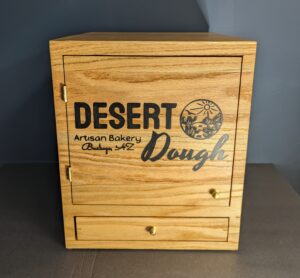
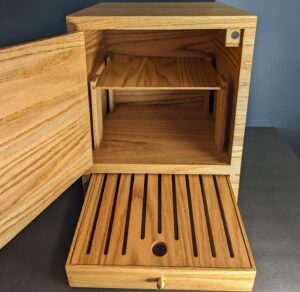
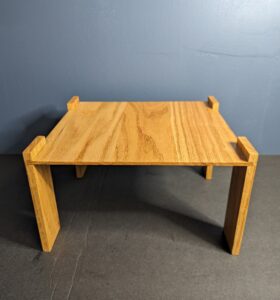
The dimensions are 12″ x 12″ with a height of 14.25″. When designing the bread box I wanted to allow for ample space for displaying a variety of bread (possibly at farmers market and such) while still being compact enough to fit on a countertop or table. I also wanted the box to contain a removable internal shelf, allowing for flexibility in arranging the bread and accommodating different sizes and shapes.
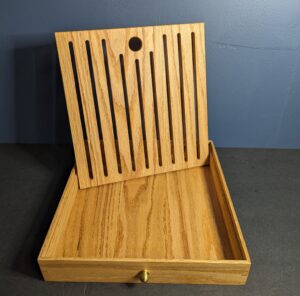
Another standout feature of this bread box that I wanted to ensure was the built-in bread cutting board. This addition makes it convenient for customers to sample the bread and for the bakery staff to prepare fresh slices. The cutting board was seamlessly integrated into the design, adding both functionality and aesthetic appeal.
Finally, I knew that I wanted to incorporate my Sister’s logo into the door of the breadbox to add the extra personalized touch.
The Build
I decided to build the bread box from red oak – mostly because I had a lot of leftover boards and scrap pieces from the Welcome Bench project. The build process can be seen through the images below.
Final Thoughts
Overall, this was a fun project to make and I was able to learn from some processed and mistakes along the way.
Most notably, the CNC work and door took 3 tries to get right. Fortunately I had made a few extra panels at the start but the mistakes on the CNC were from rushing, incorrectly measuring, and spelling – in short they should have never happened and overall added a lot of stress and time to the project. I learned that I need to slow down when working with the CNC, even though it does make certain aspects easier, I have found it is a lot easier to have simple oversights as well which ultimately cause errors and mistakes.
The second issue I encountered was that I made the panels for the box ~7/16″ thick. I was trying to keep them as thin as possible as I did not want the box to be super heavy, especially given its large size. This did however severely limit the glue area for the miters when assembling the box. I did add splines along the miters to re-enforce the joints, but unfortunately one of the corners developed a crack at the glue seam in shipping to my sister (despite my every effort to package the box as well as I could). Hopefully this can be fixed eventually next time I am in Arizona.
I attempted this write up with less specifics and details about the build process but rather the birds eye view of the process and project. If you want specifics please feel free to comment with any questions and I would be happy to answer.
