Easy Do It Yourself (DIY) Drill Organizer
Every woodworker has followed plans at some point – but the problem with plans, especially those for shop furniture, is that everyone’s needs are not always one size fits all. Between different tool brands and battery systems, different tools owned, and different workflow needs, workshop furniture is very personal to each individual using it.
As such, at MidRiver Woodworks I follow a system that, while simple, allows for precise storage of the supplies and tools that I have. The general process is simple – measure the space and build as you go using the tools and accessories for that piece of furniture as a spacing guide. This allows one to ensure that storage needs from the piece of furniture are met while also being able to adjust and adapt while building.
Follow along to see how we recently completed an easy do it yourself (DIY) drill organizer using this simple method.
Determine Your Space and Needs - Start with Most Important Component for the Do It Yourself (DIY) Drill Organizer
The first step for building this drill and tool organizer was to determine the maximum space that I had to work with – I always measure the maximum space initially as this represents a hard cutoff. After measuring my max dimension I found that I had 66” of horizonal wall space to work with as well as about 32″ of vertical space to keep the entire height accessible for myself.
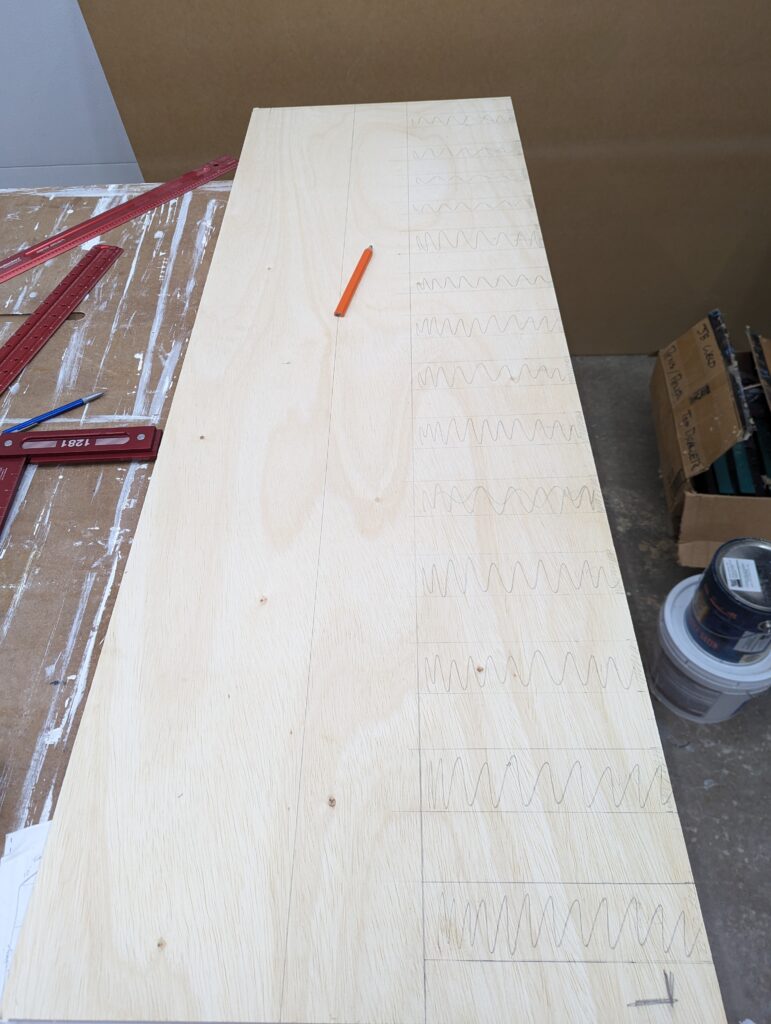
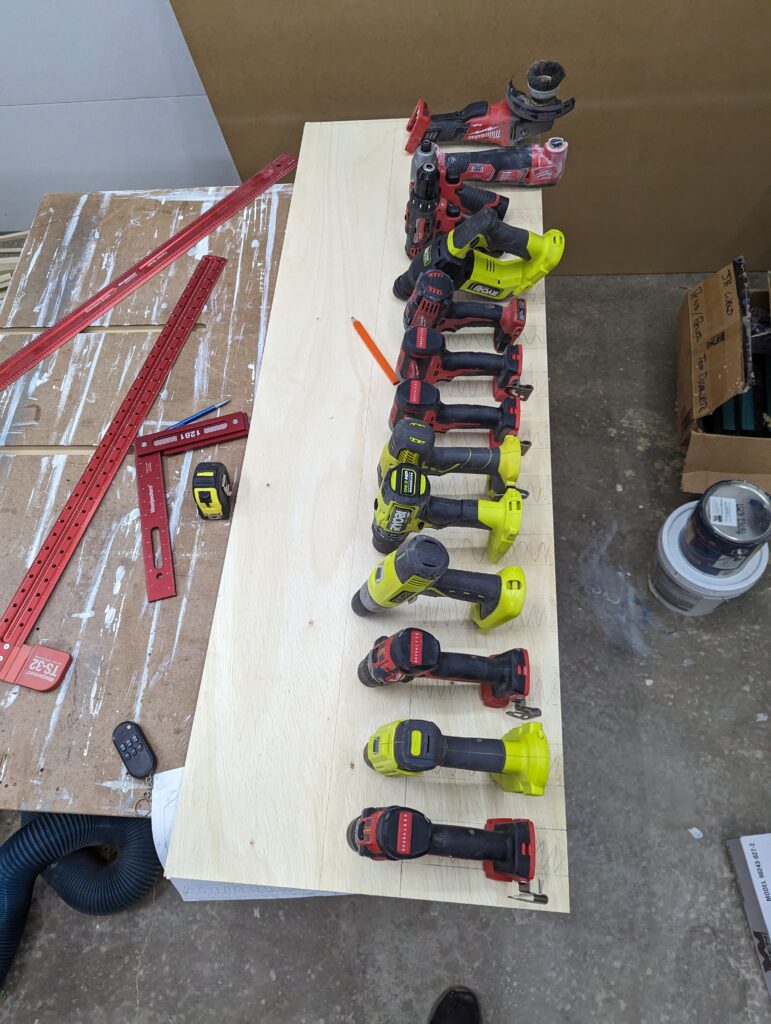
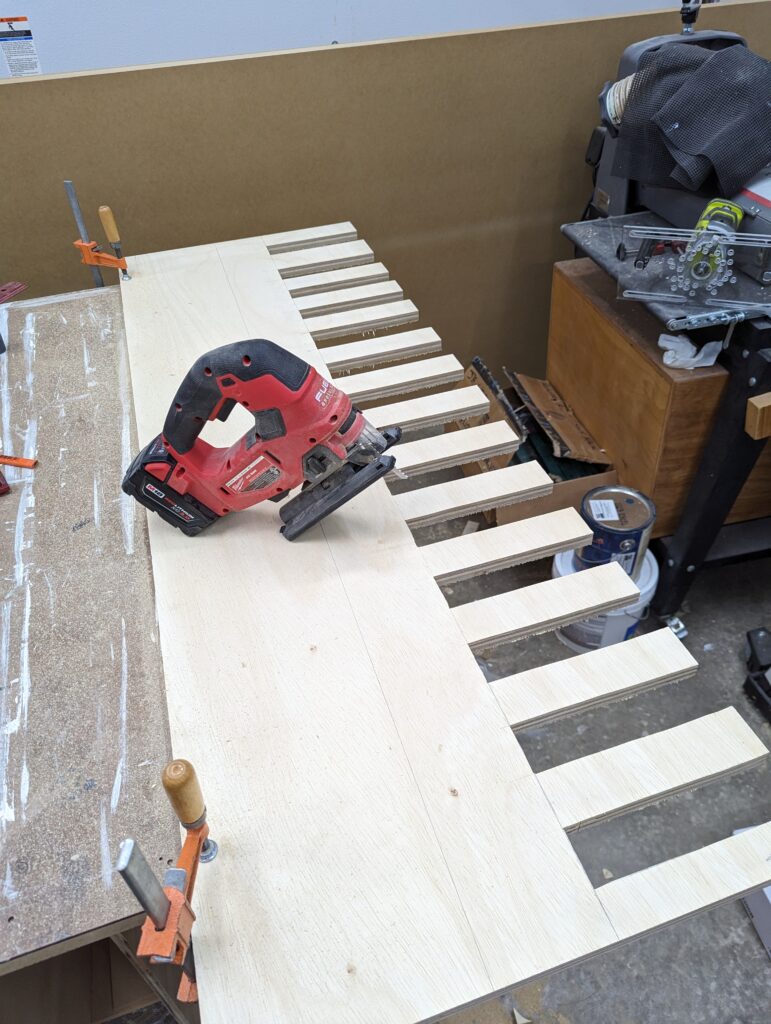
For aesthetics my goal was to keep the drill organizer around 60” if possible. I started by grabbing a piece of ¾ inch plywood that was 60 inches long and then laid out my “ideal” bottom with the spacing for the tools I wanted hanging. I started with the bottom as it was the most important component of the box for me — I wanted to make sure that all of my drills / impacts / and high use tools would be able to hang. After completing my “ideal” I grabbed all the tools and physically lined them up to ensure they would fit. This step allowed me to find some spacing issues (I did not account for the width of belt clips and over estimated the amount of space the angle grinder would take up). After making adjustments, I clearly marked my tool voids and then used my jigsaw to cut them out. As this is shop furniture that will be of high use I was not worried about perfection; however, if you are, a bandsaw or router jig will make cleaner cuts than the jigsaw. Finally I applied a 1/4” roundover on both sides of the tool voids to prevent any sharp edges.
Complete Frame Pieces and Assemble the Main Box of the Do It Yourself (DIY) Drill Organizer
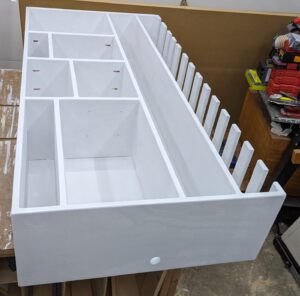
With the base completed as above, I used it as a template for the length of two more cross pieces which would be used to complete the main cabinet box. I cut all three pieces to final size together to ensure that they are all the same size (for my organizer they are 58” long and 12” deep). This prevents any measuring error variability when cutting individually. I also cut the side pieces for the box together to the final dimension (30” long, 12” wide).
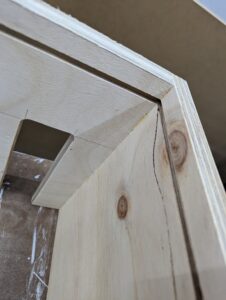
I use French cleats to hang all my upper shelves in the workshop as it is very strong and makes installation a breeze. As such I allowed for ¾ inch behind the back panel where the French cleat system sits. I then made a ¼” dado along the back edge of all the panels (the middle shelf received the dado on both upper and lower sides) which was located ¾” in from the back (again to allow for the French cleat system).
Assembly of the cabinet box was the next step. I used glue and fine cabinet screws with butt joints for the main box. While this is not the “cleanest” joinery, this is a shop piece and the screw holes were filled and painted. Rabbits, dados, dowels, dominoes, or a host of other joinery methods could be used for a “cleaner” look if desired.

Customize Shelves for Layout and Plan for Battery Charging Station
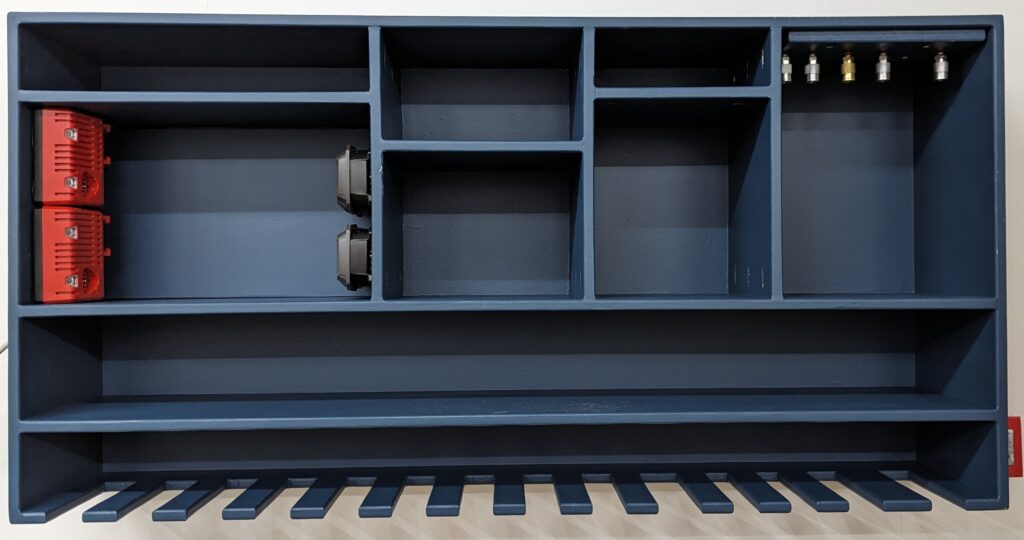
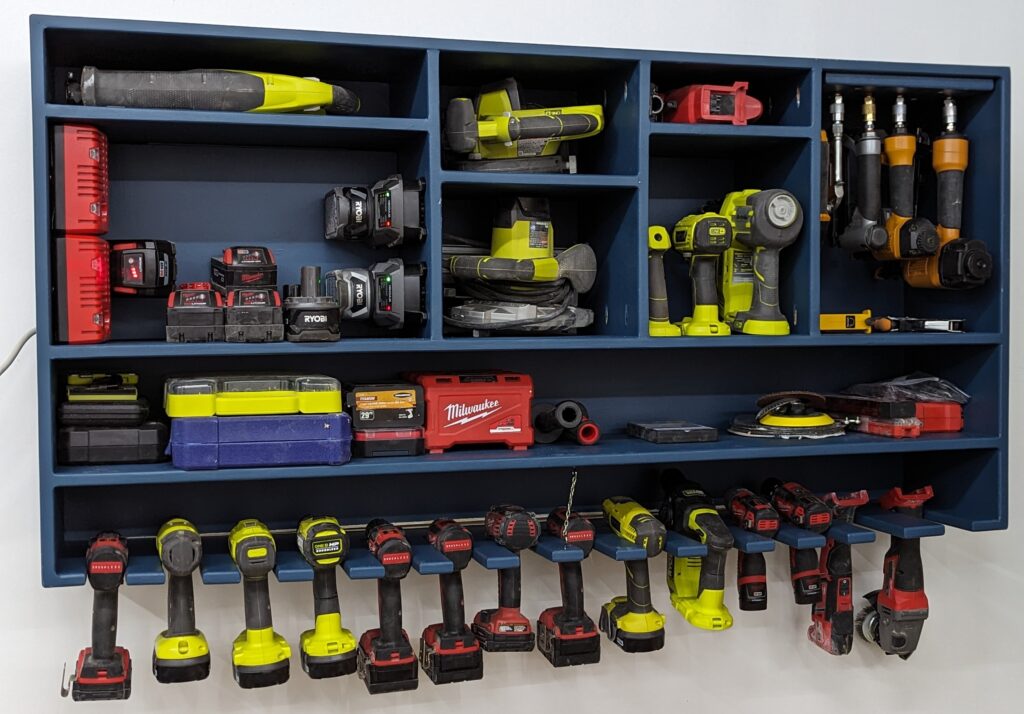
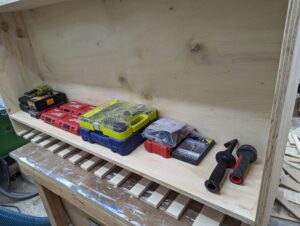
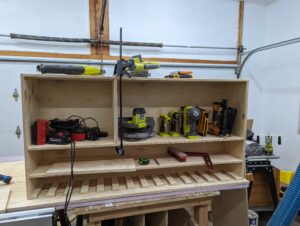
With the main box of the do it yourself (DIY) drill organizer completed, I then test fit all of the tools into different layouts to find the one that worked best for me and my planned workflow. For example I know that my compressor is on the right side of the cabinet, so I wanted to ensure that the air tools were on the right side of the box. I use scrap plywood cutoffs to ensure that there was enough space for the tools while accounting for the thickness of the plywood dividers. Pocket holes were utilized to connect the dividers of the main box.
Once all the dividers were added (and test fitting completed) I measured the distance to place the mounting holes for the battery chargers. From experience it is much easier to have the holes identified and pre-drilled prior to applying finish to the project. The battery chargers were installed temporarily to allow for a “false back” to be made so that the cords will be hidden.
Tip!
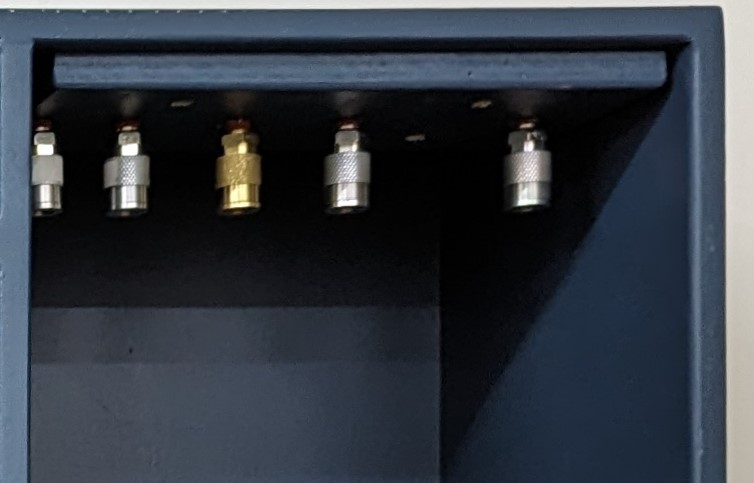
Use 1/4″ male NPT couplers to hang air tools for easy storage. Simply drill a 1/2 inch hole about 1/2 inch deep into a board to hang the air tools from. Epoxy the couplers into the holes and after dry you have an easy and appealing storage solution!
Prime, Paint, & Install the Do It Yourself (DIY) Drill Organizer
Finally I filled all of the voids from the plywood and the screw holes with wood filler and then sanded the entire project to 180 grit. I then primed and painted the cabinet to match my lower cabinets and mounted it to the wall using the French cleat system installed on the back.
I did notice that there was some sagging of the middle drill shelf after placing all the tools – this was due to the weight of the drills. To fix this issue I simply added a small chain connected to the bottom of the accessory shelf and to the middle of the drill holders for support.
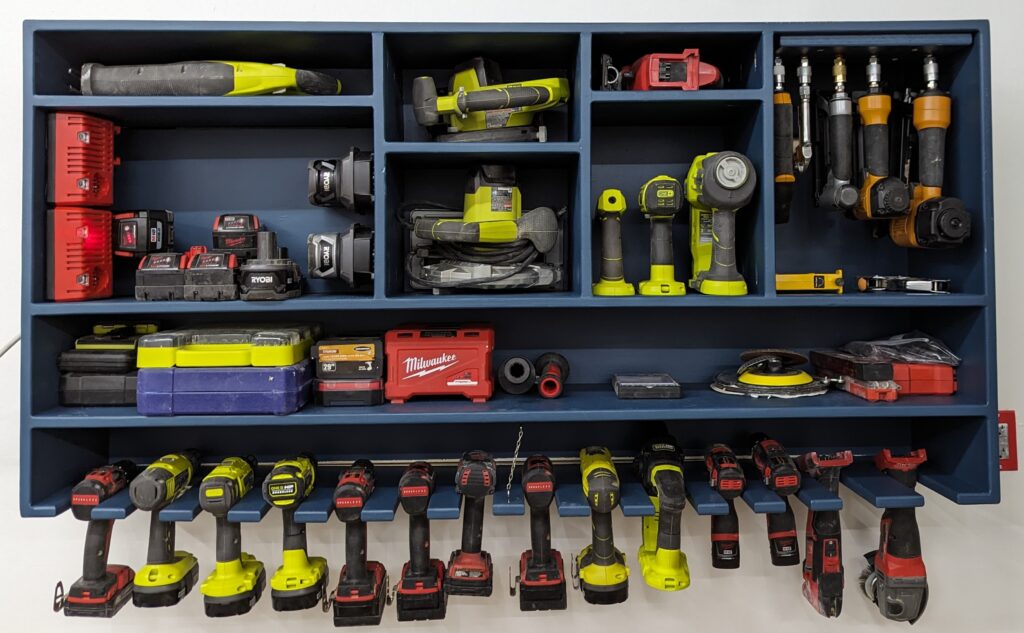
The finished project is perfect for my needs and will help clean up horizontal work surfaces in the shop! Thank you for reading about how to make this Easy Do It Yourself (DIY) Drill Organizer!
You can return to other blog post here.
