In my previous workbench, I used 1/4 inch plywood as drawer dividers. This worked well but the major issue I encountered was how to install the dividers. I did not want to make multiple dado slots in all of my drawers as this (1) only allows for grid patterns which is not the most efficient use of space and (2) is semi-permanent and I like to be able to modify my storage as needed.
Instead I simply hot glued 1/4 inch panels on edge into place. This was easy and adjustable, however the dividers were never super straight and with constant opening and closing they would fail.
Thus I set out to make a simple guide that would not only hold panels in place, but would also allow for the adjustability that I was seeking.
The (Simple) Solution:
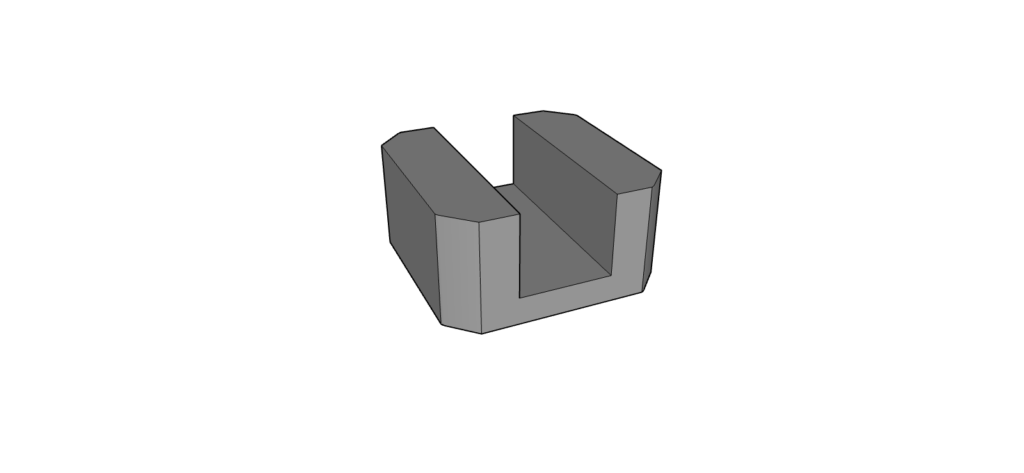
I developed these simple 3d printed drawer divider guides that perfectly house 1/4 inch plywood on edge.
I have now been using these in my new workbench for about 3 months now and they have been great! These allow for drawer dividers that are easily removable / adjustable while also keeping the dividers upright and rigid. Plus they are only 1/2 inch wide/tall so you can cut dividers to nearly any usable height.
Follow along below for my process of how I utilize them to install drawer dividers – or if you just want the FREE download for these dividers you can click here.
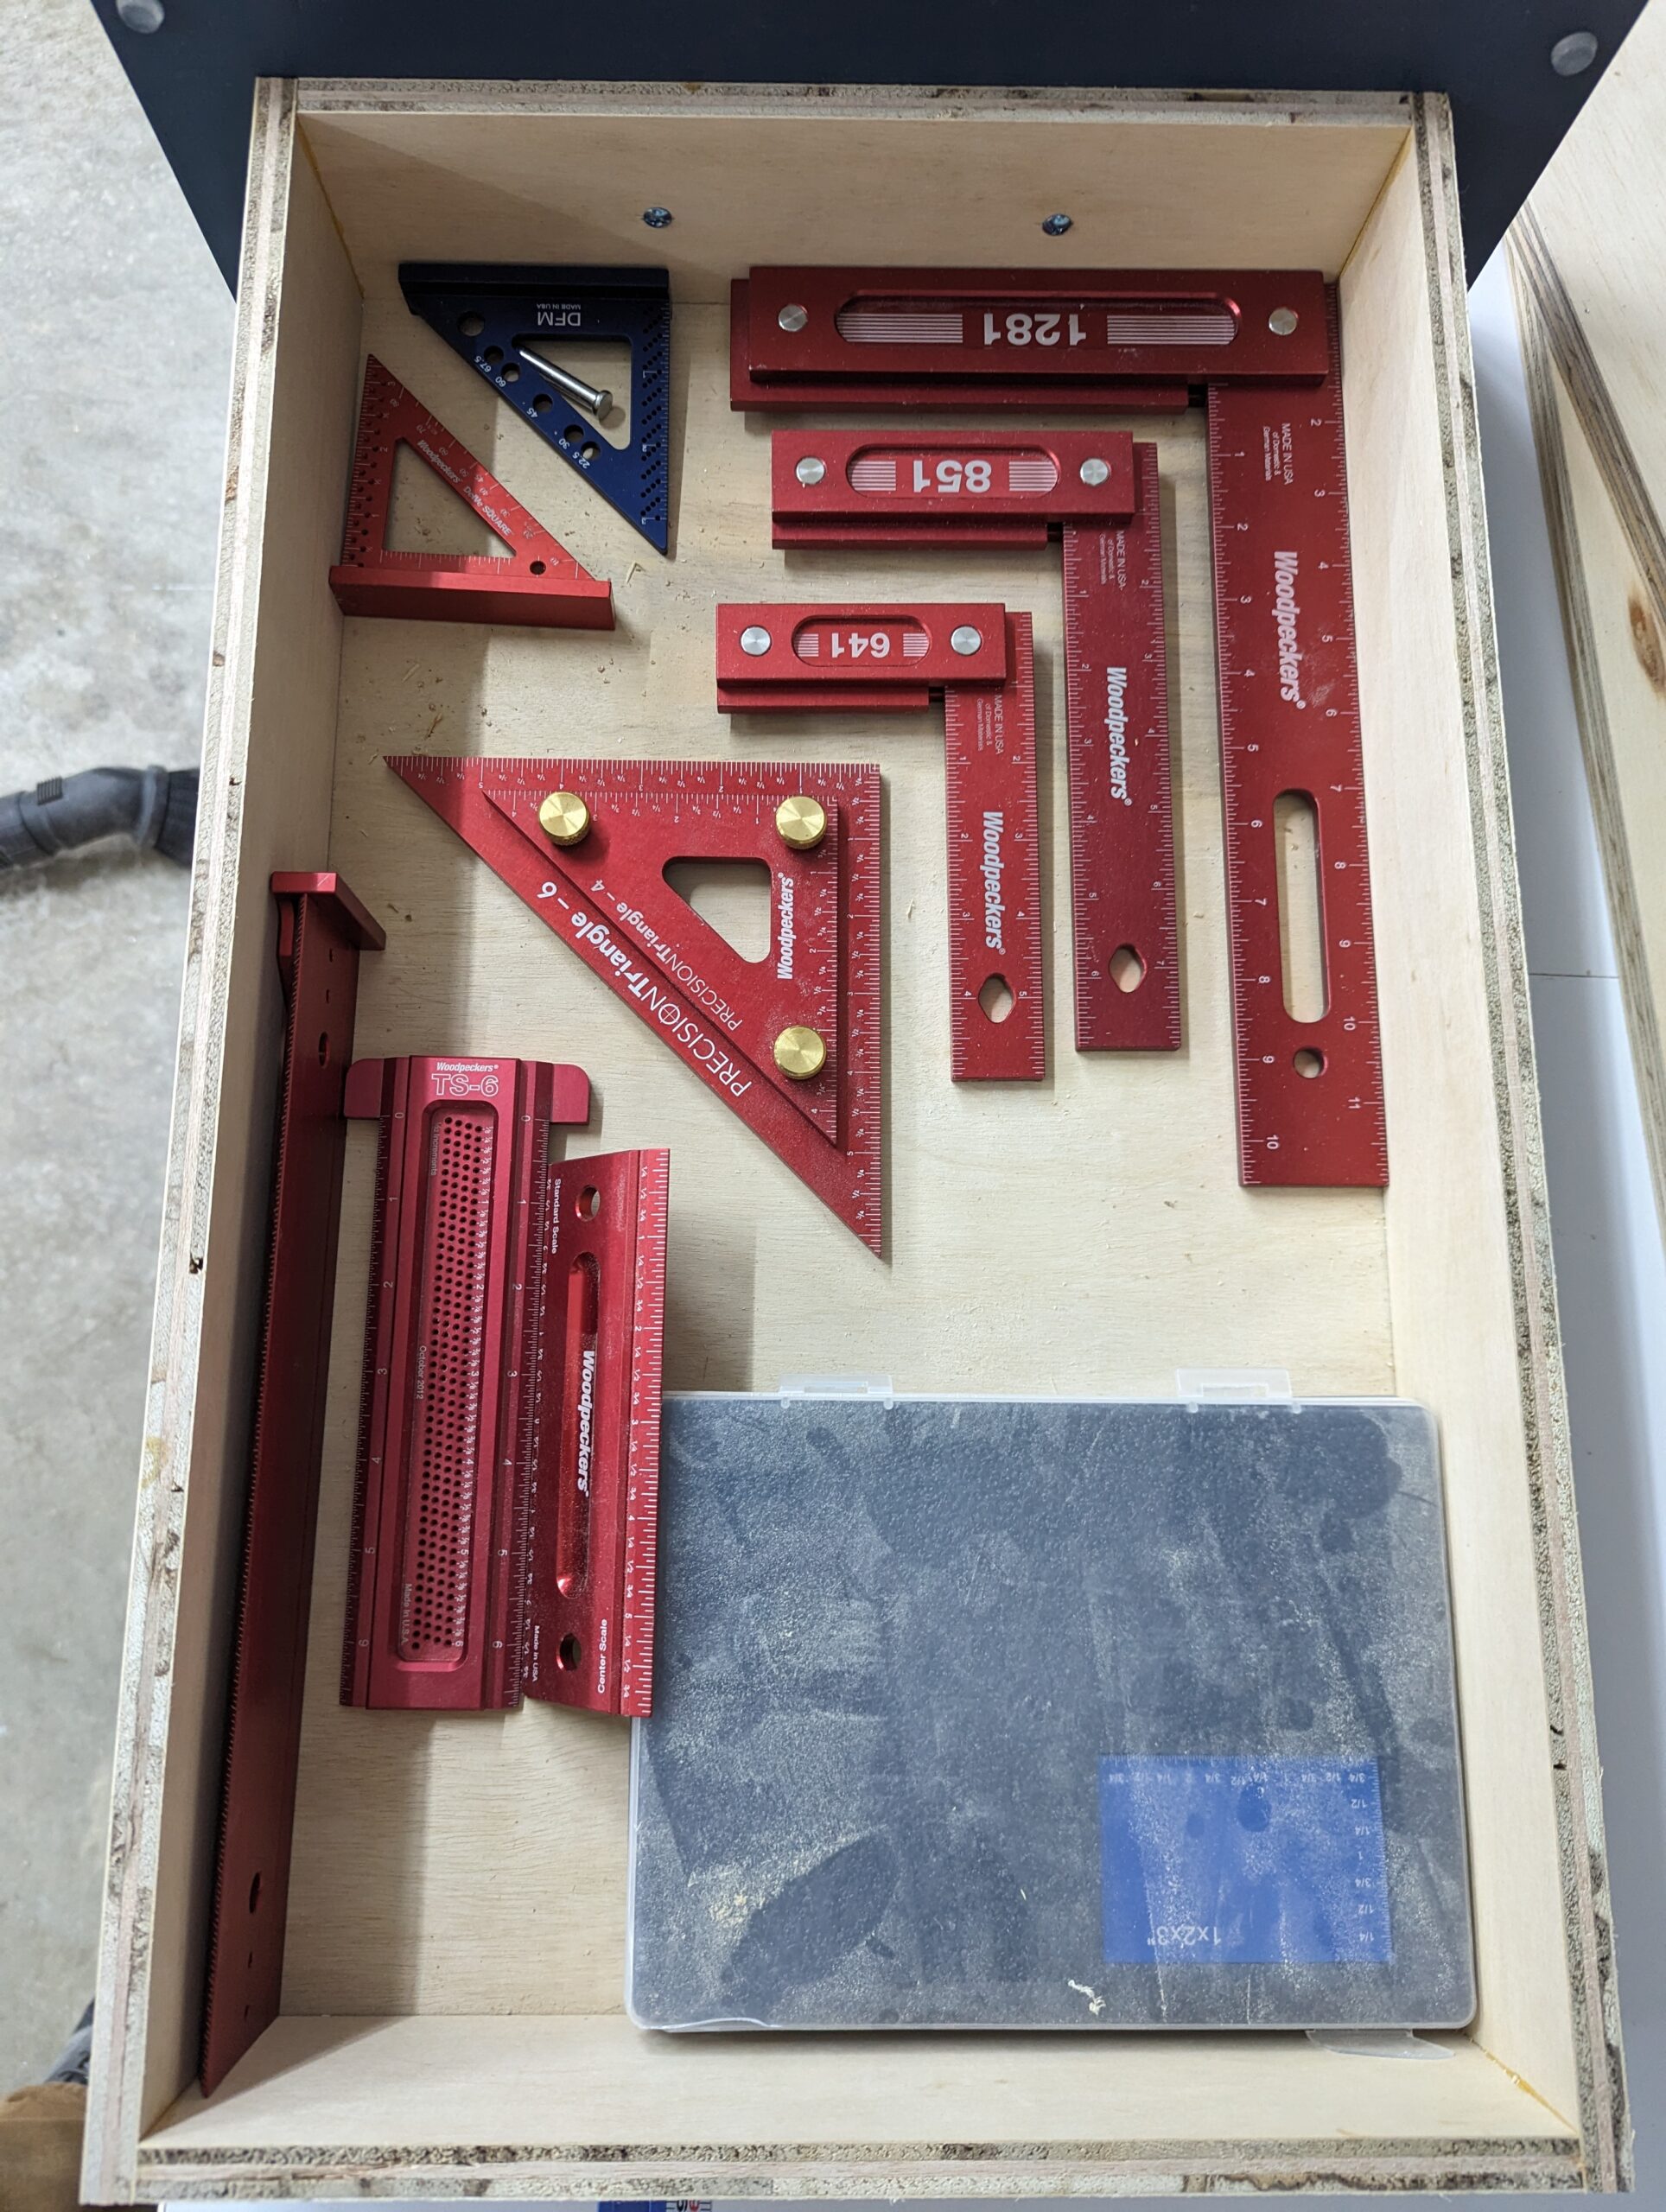
Step 1: The Layout
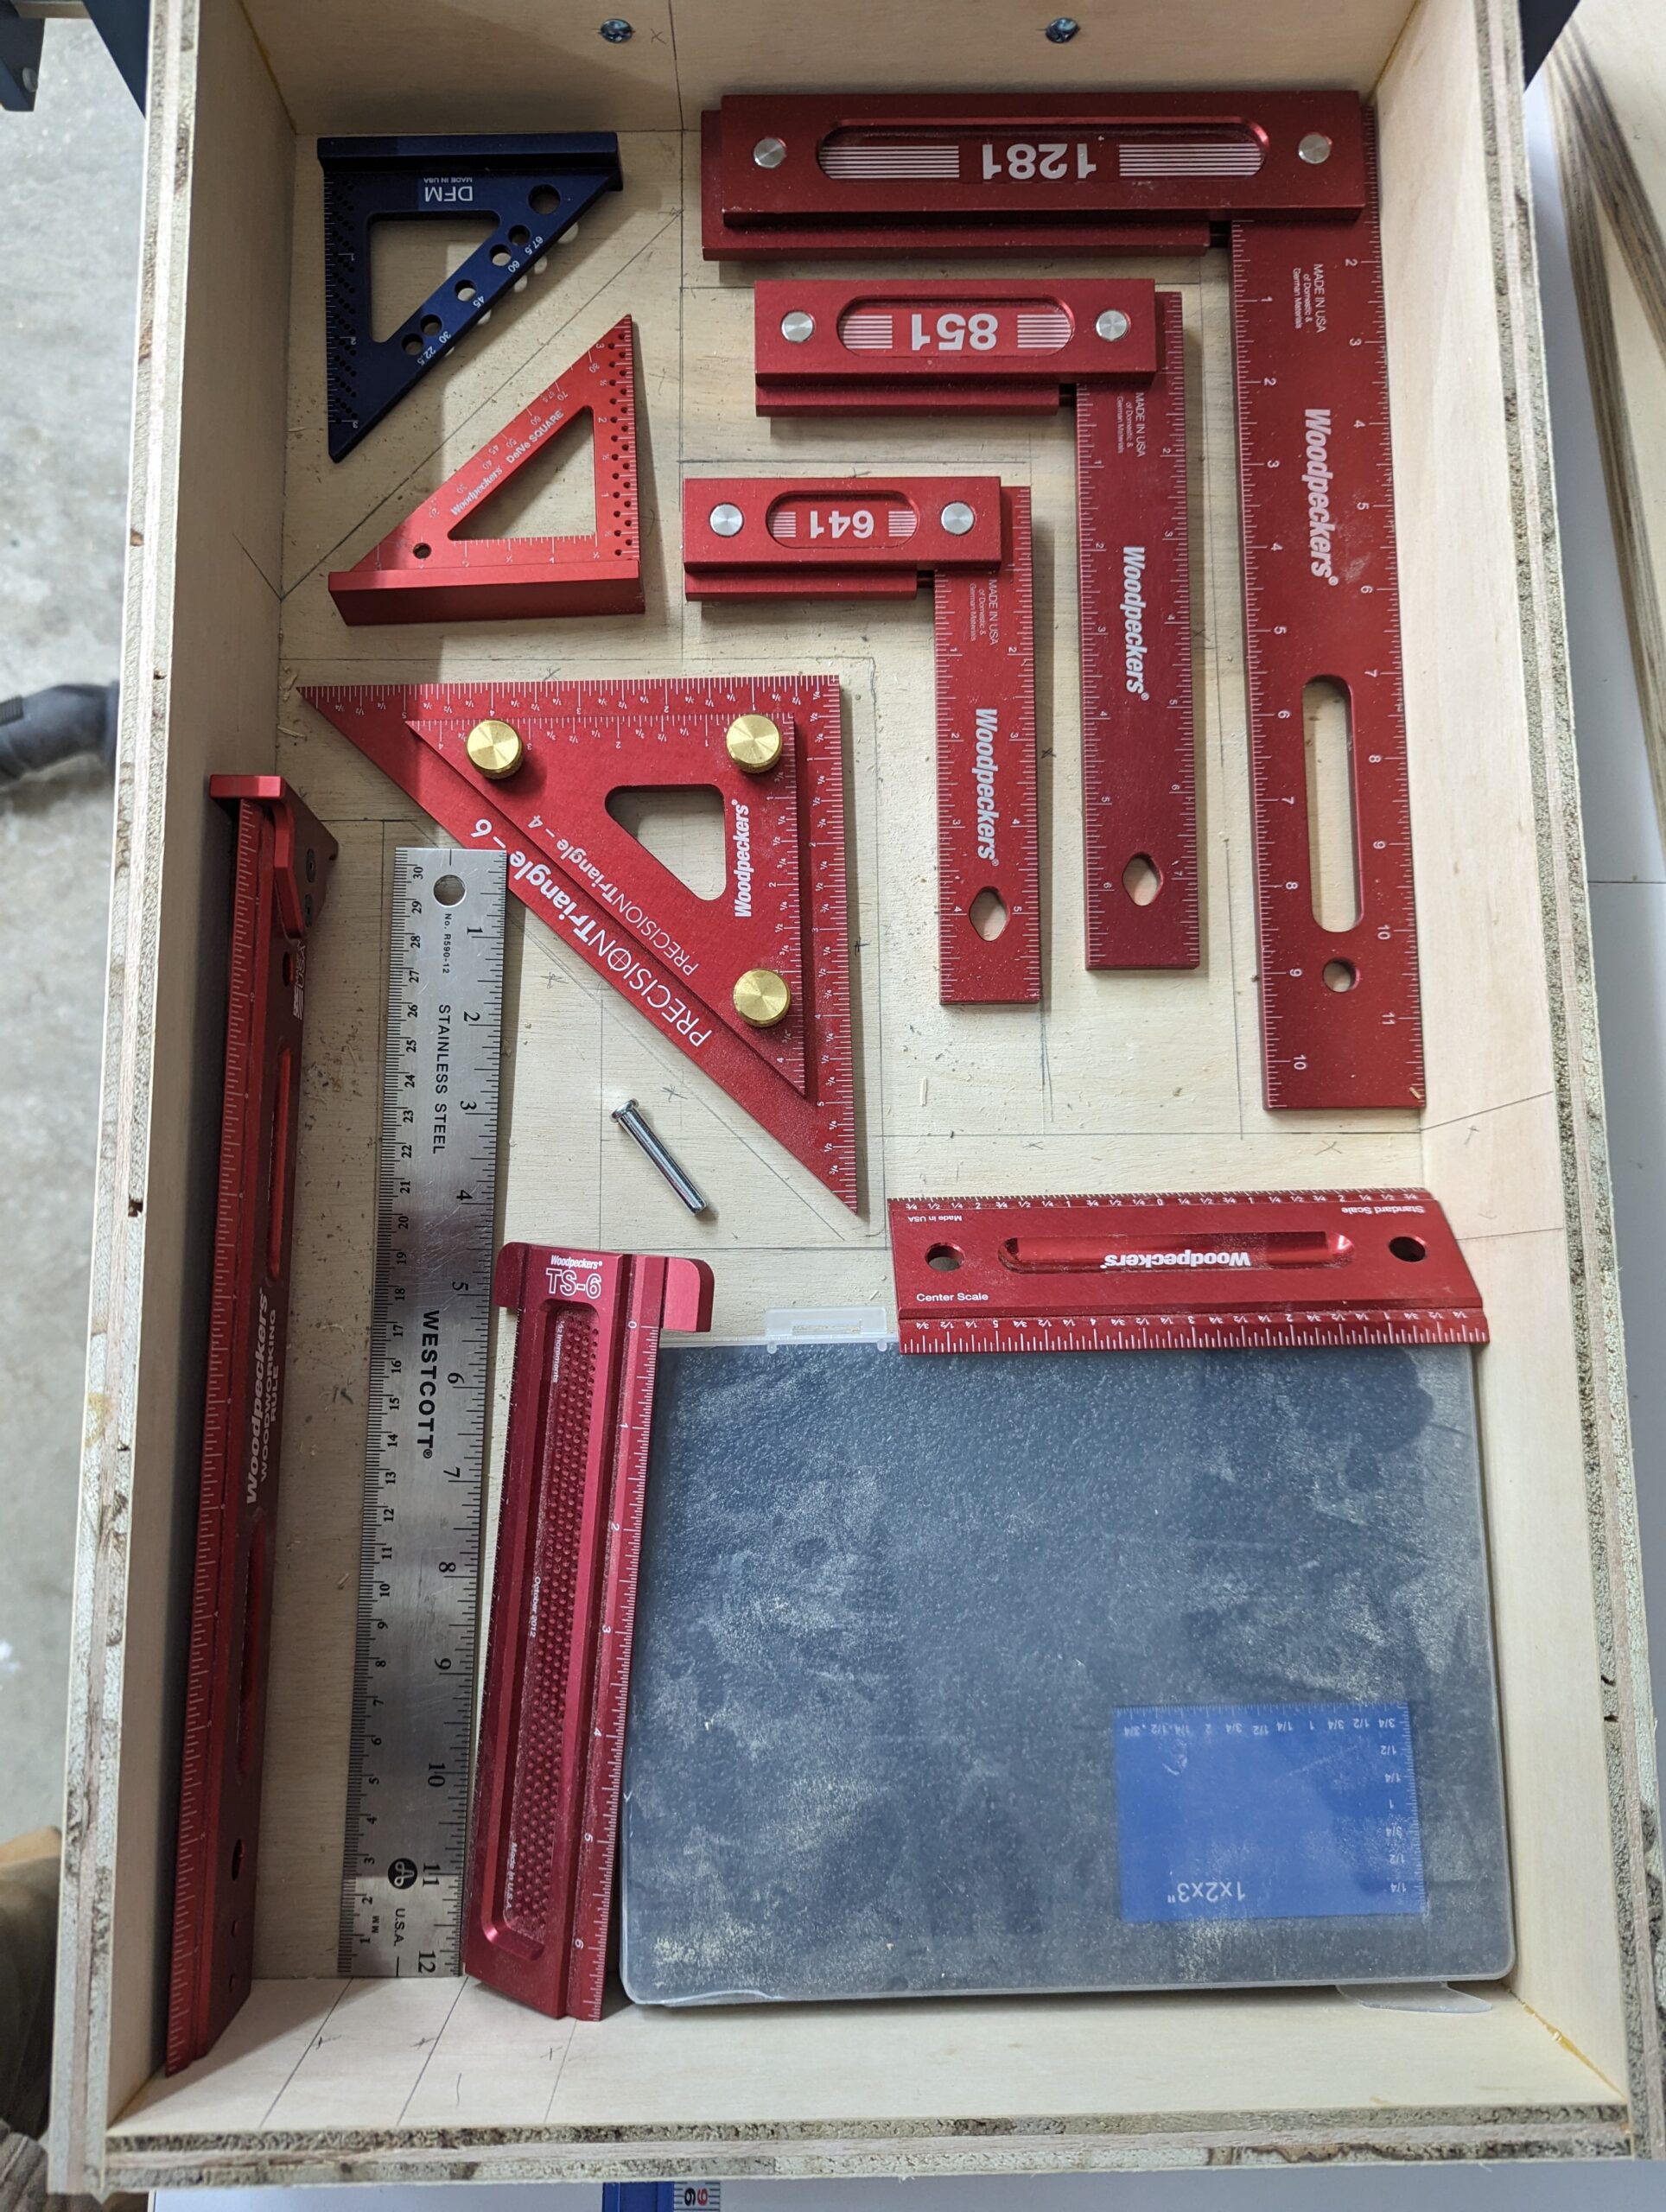
The initial step is to lay out all the tools in the specific drawer how you would like them arranged. I usually spend about 10 minutes trying different layouts trying to keep the most commonly used tools towards the front of the drawer.
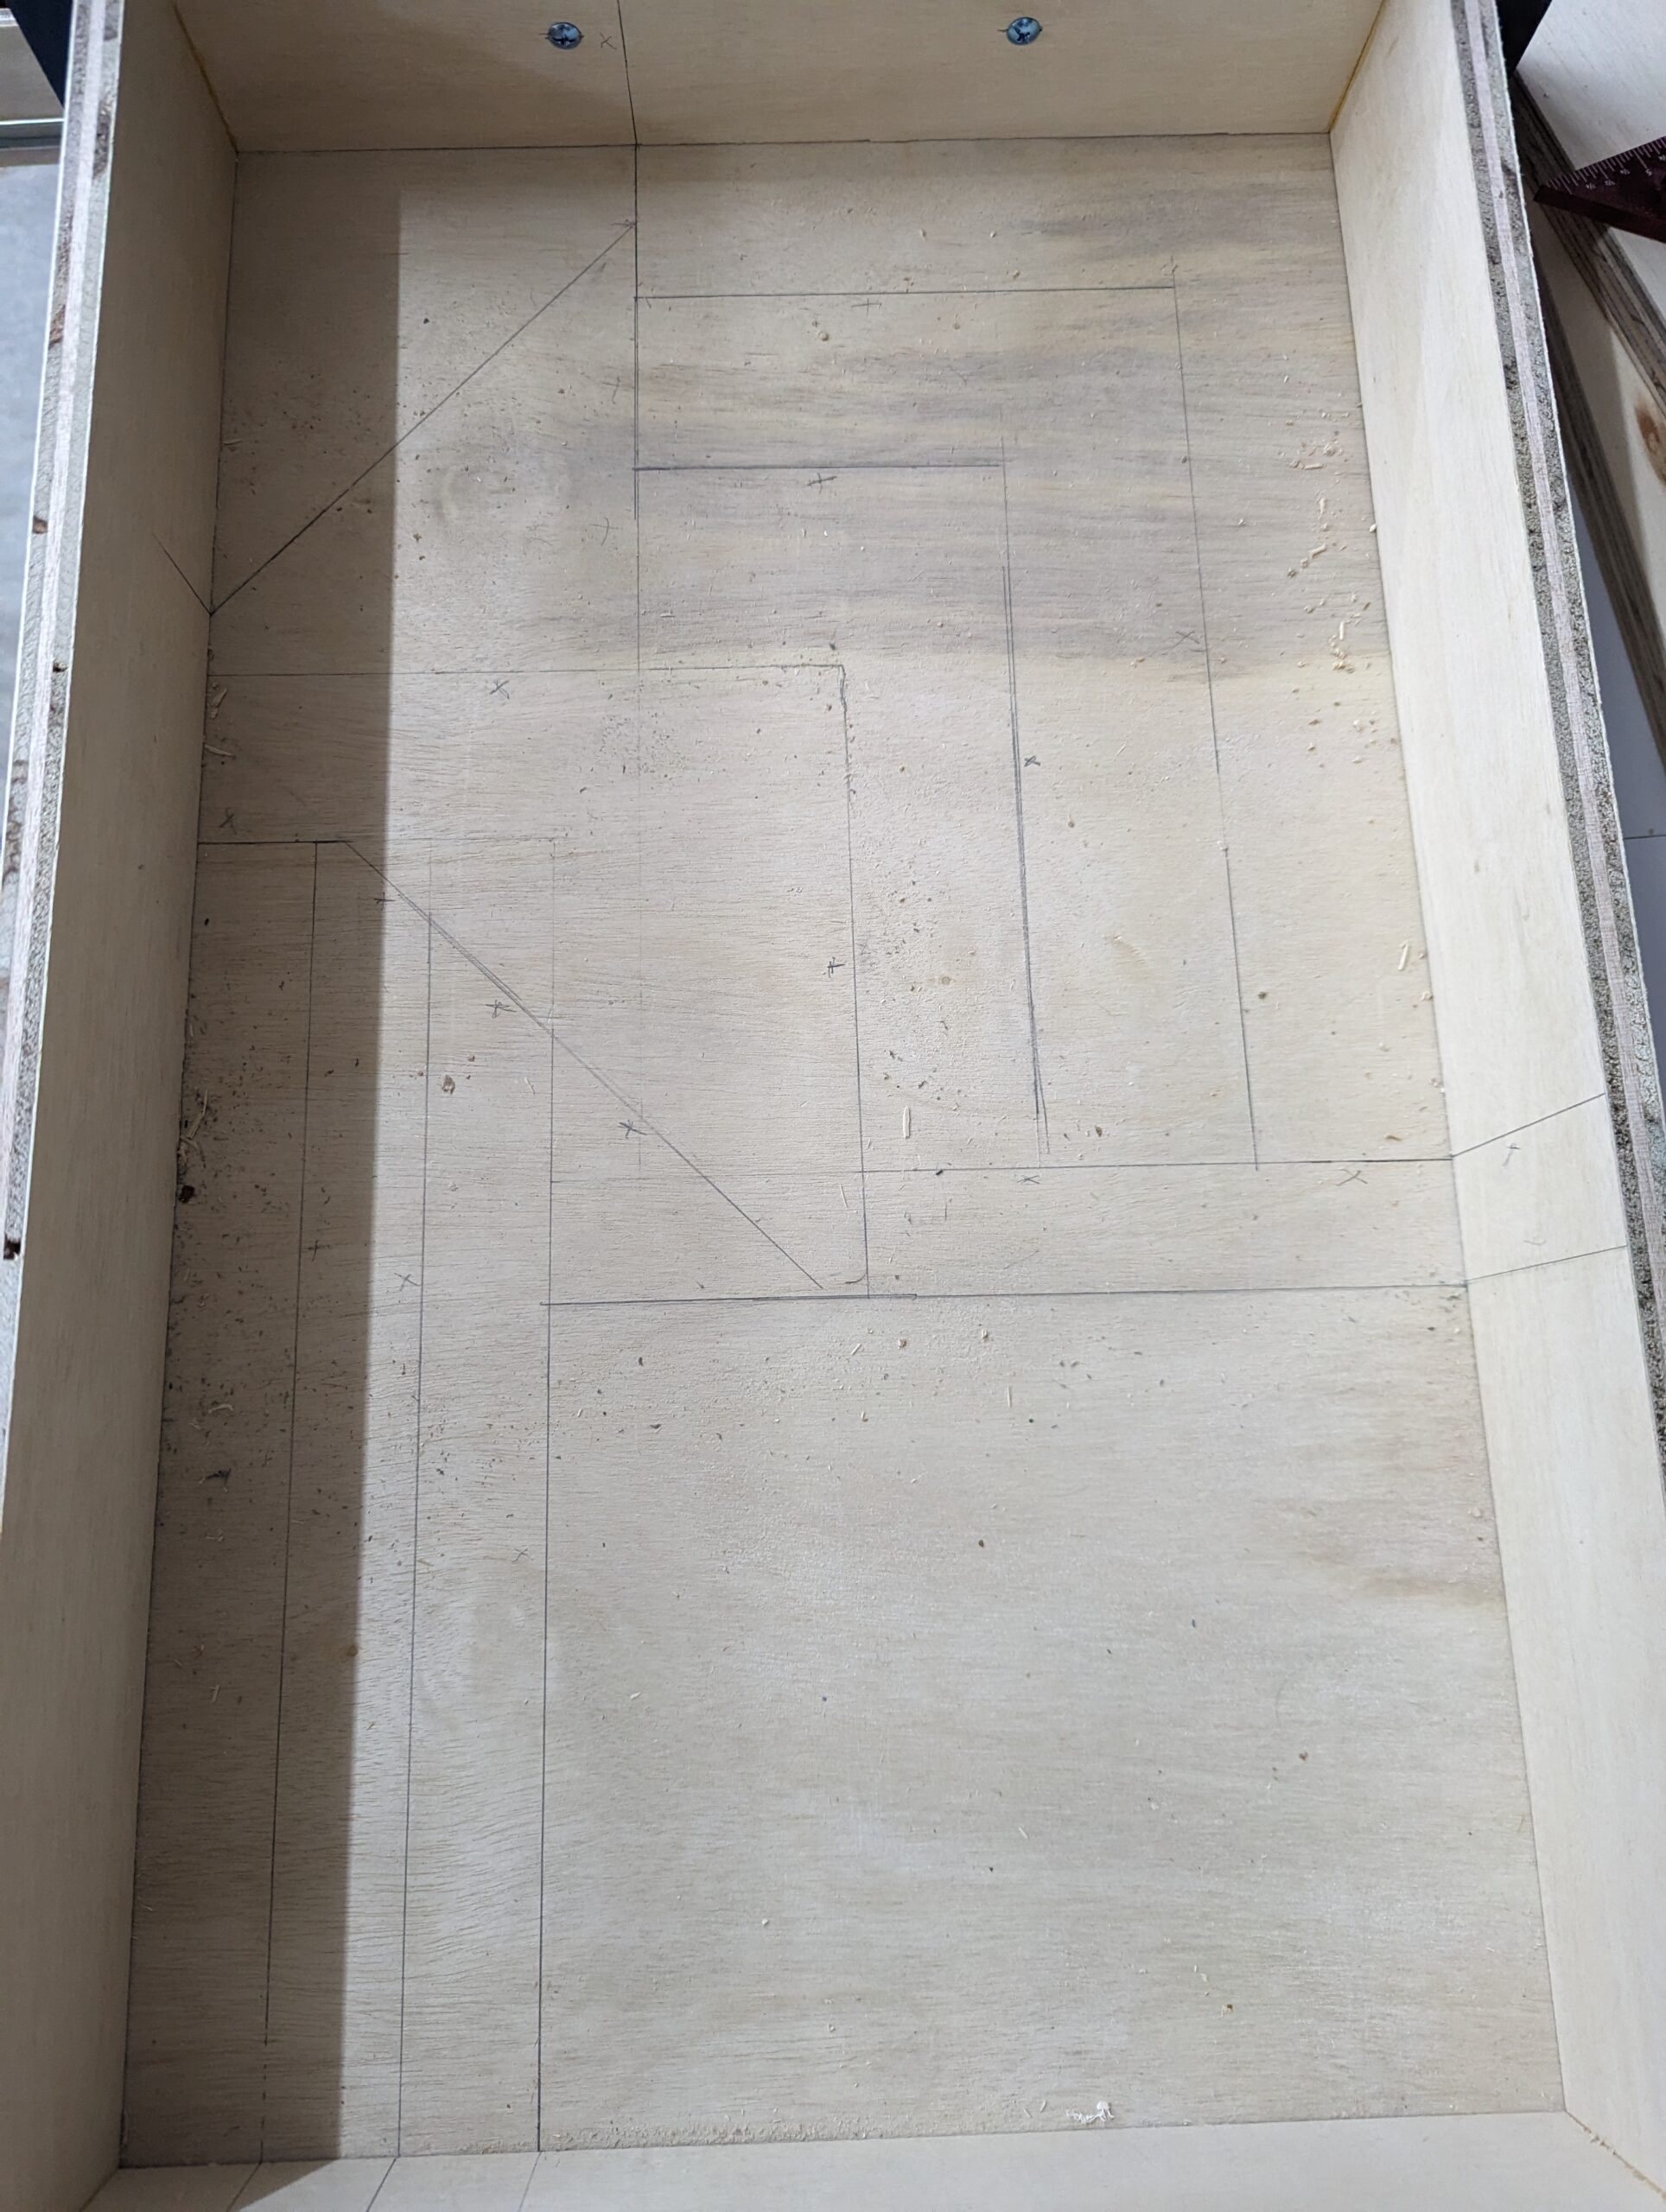
Once I am happy with the layout, I mark the location of dividers then using a straight edge connect the intersecting points on the drawer bottom. I make sure to mark the side of the line that the 1/4″ divider will rest on with an “X” to ensure proper spacing.
Finally, once all the layout lines are marked, I replace all the tools within the lines to ensure they will fit.
TIP: To save room, remember that some tools can be stored on edge or vertically if your drawer space allows.
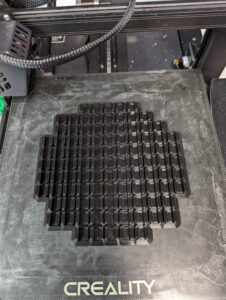
Step 2: Printing the Divider Guides
I print the divider guides 100 at a time.
I have found that 100 divider guides last me about 5-6 drawers similar to the one in this example.
It takes my printer about 6 hours to print 100 of the divider guieds using a 0.15 layer height and 40 mm/sec print speed.
You can get the print file that I use HERE for free.
Step 3: Installation
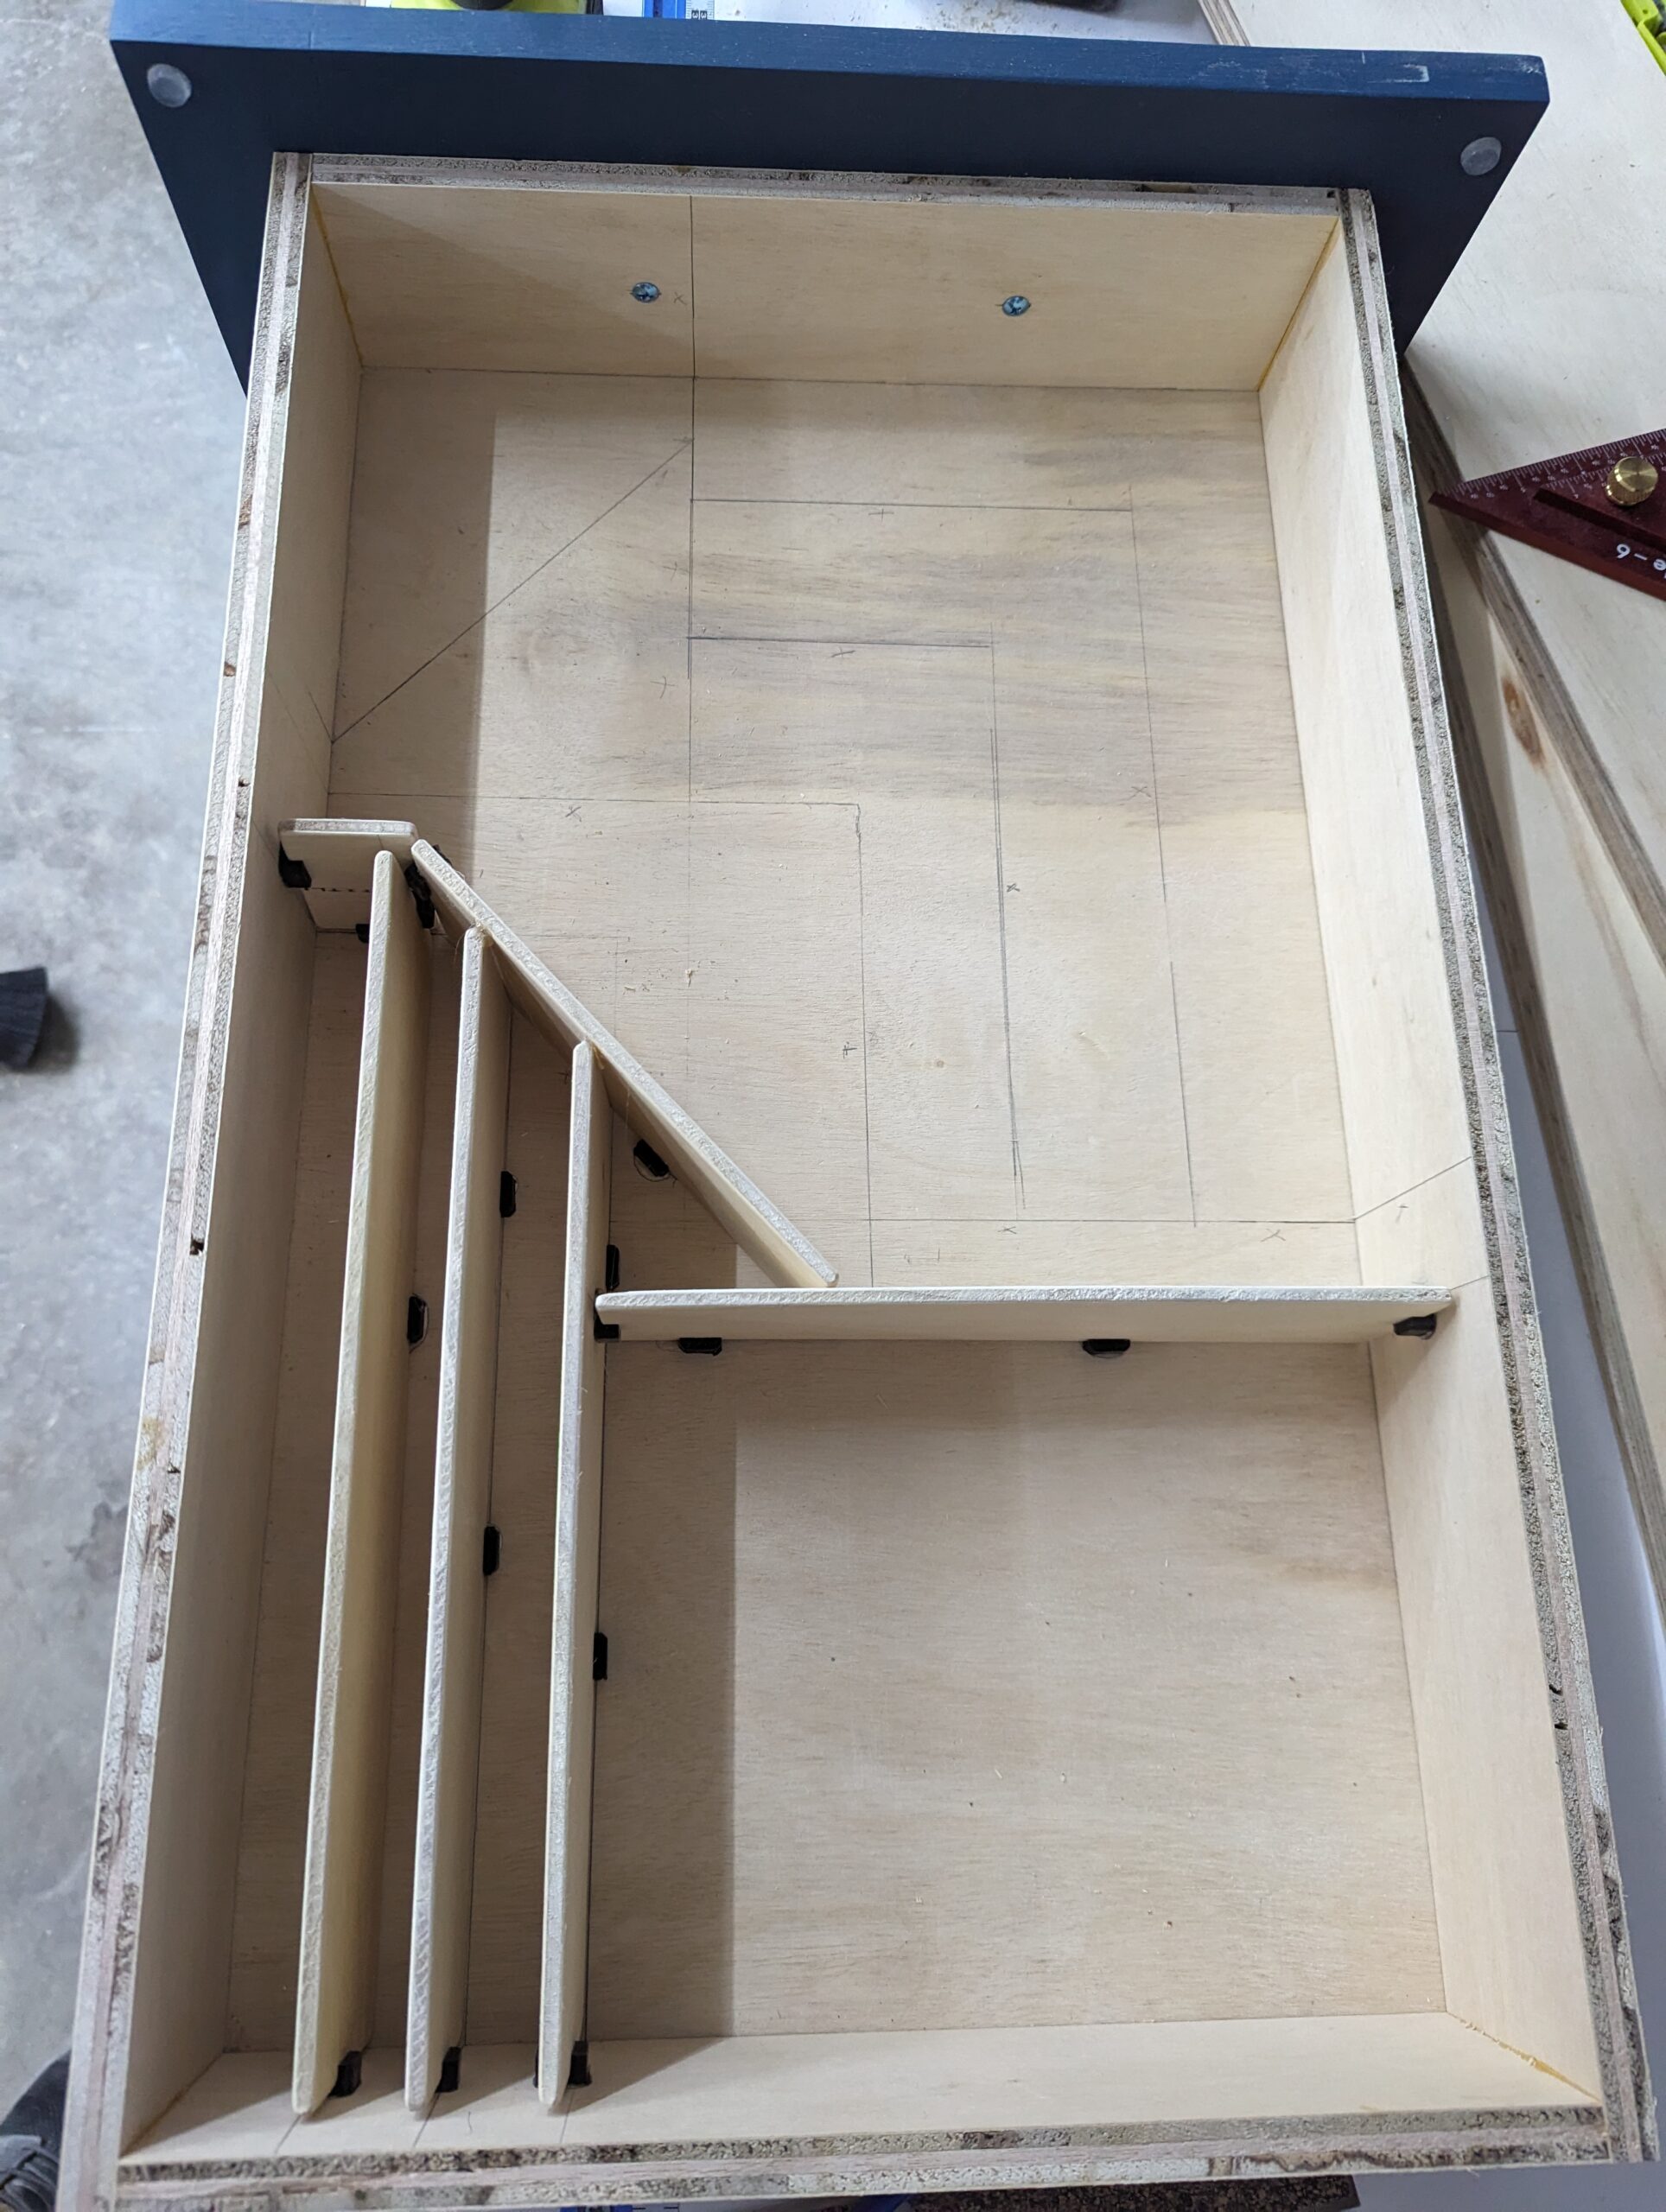
Installation of drawer dividers using the divider guides is extremely simple!
Simply measure the distance of your previously marked line and subtract 1/16 of an inch for each divider guide you will have on the length (ie side edges) of the dividers. Cut dividers out of 1/4 plywood (actual thickness 7/32)
Use hot glue or CA glue on the flat side of the 3d printed divider guides and install them along the layout lines. I personally have found hot glue to be my preferred agent because it allows some dry time to ensure alignment and is easier to remove.
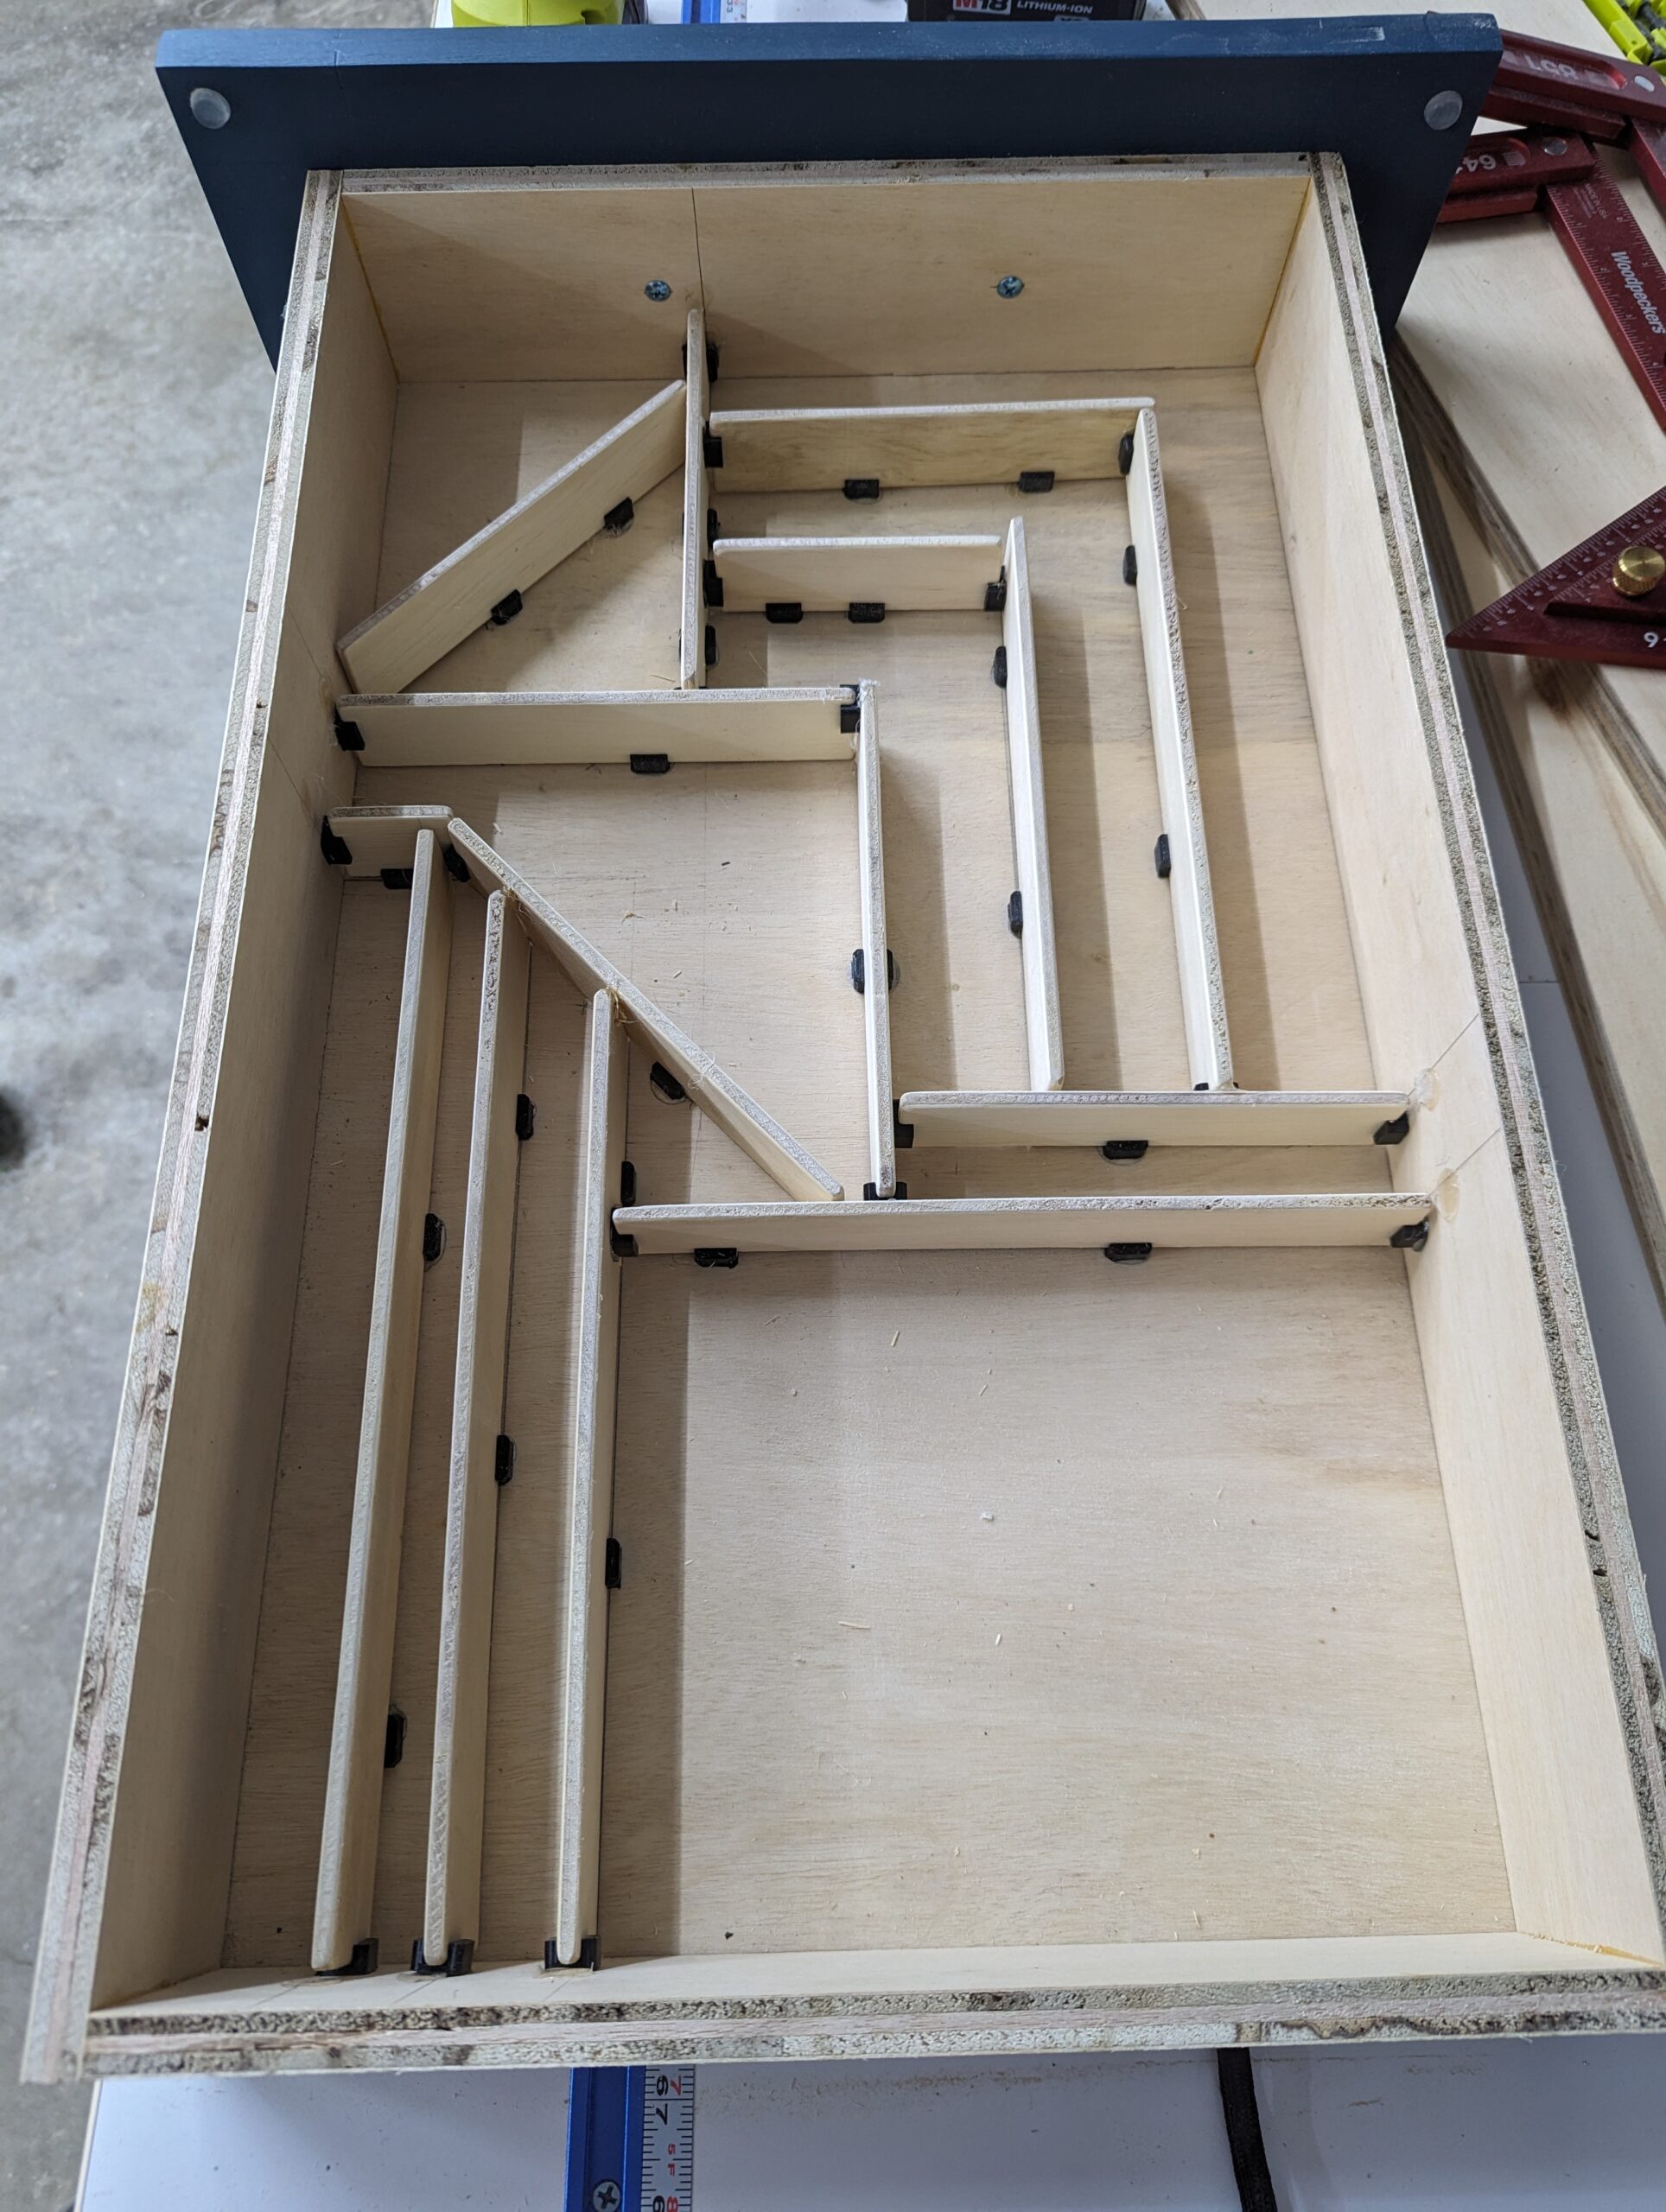
Once the divider guides are in place simply install the 1/4 inch dividers into the appropriate slots and continue to the next divider.
I generally recommend installing one at a time to ensure alignment and appropriate cut size. I generally go from largest divider to smallest divider as well and place a divider guide about every 3 inches on the bottom and one on each edge of the dividers.
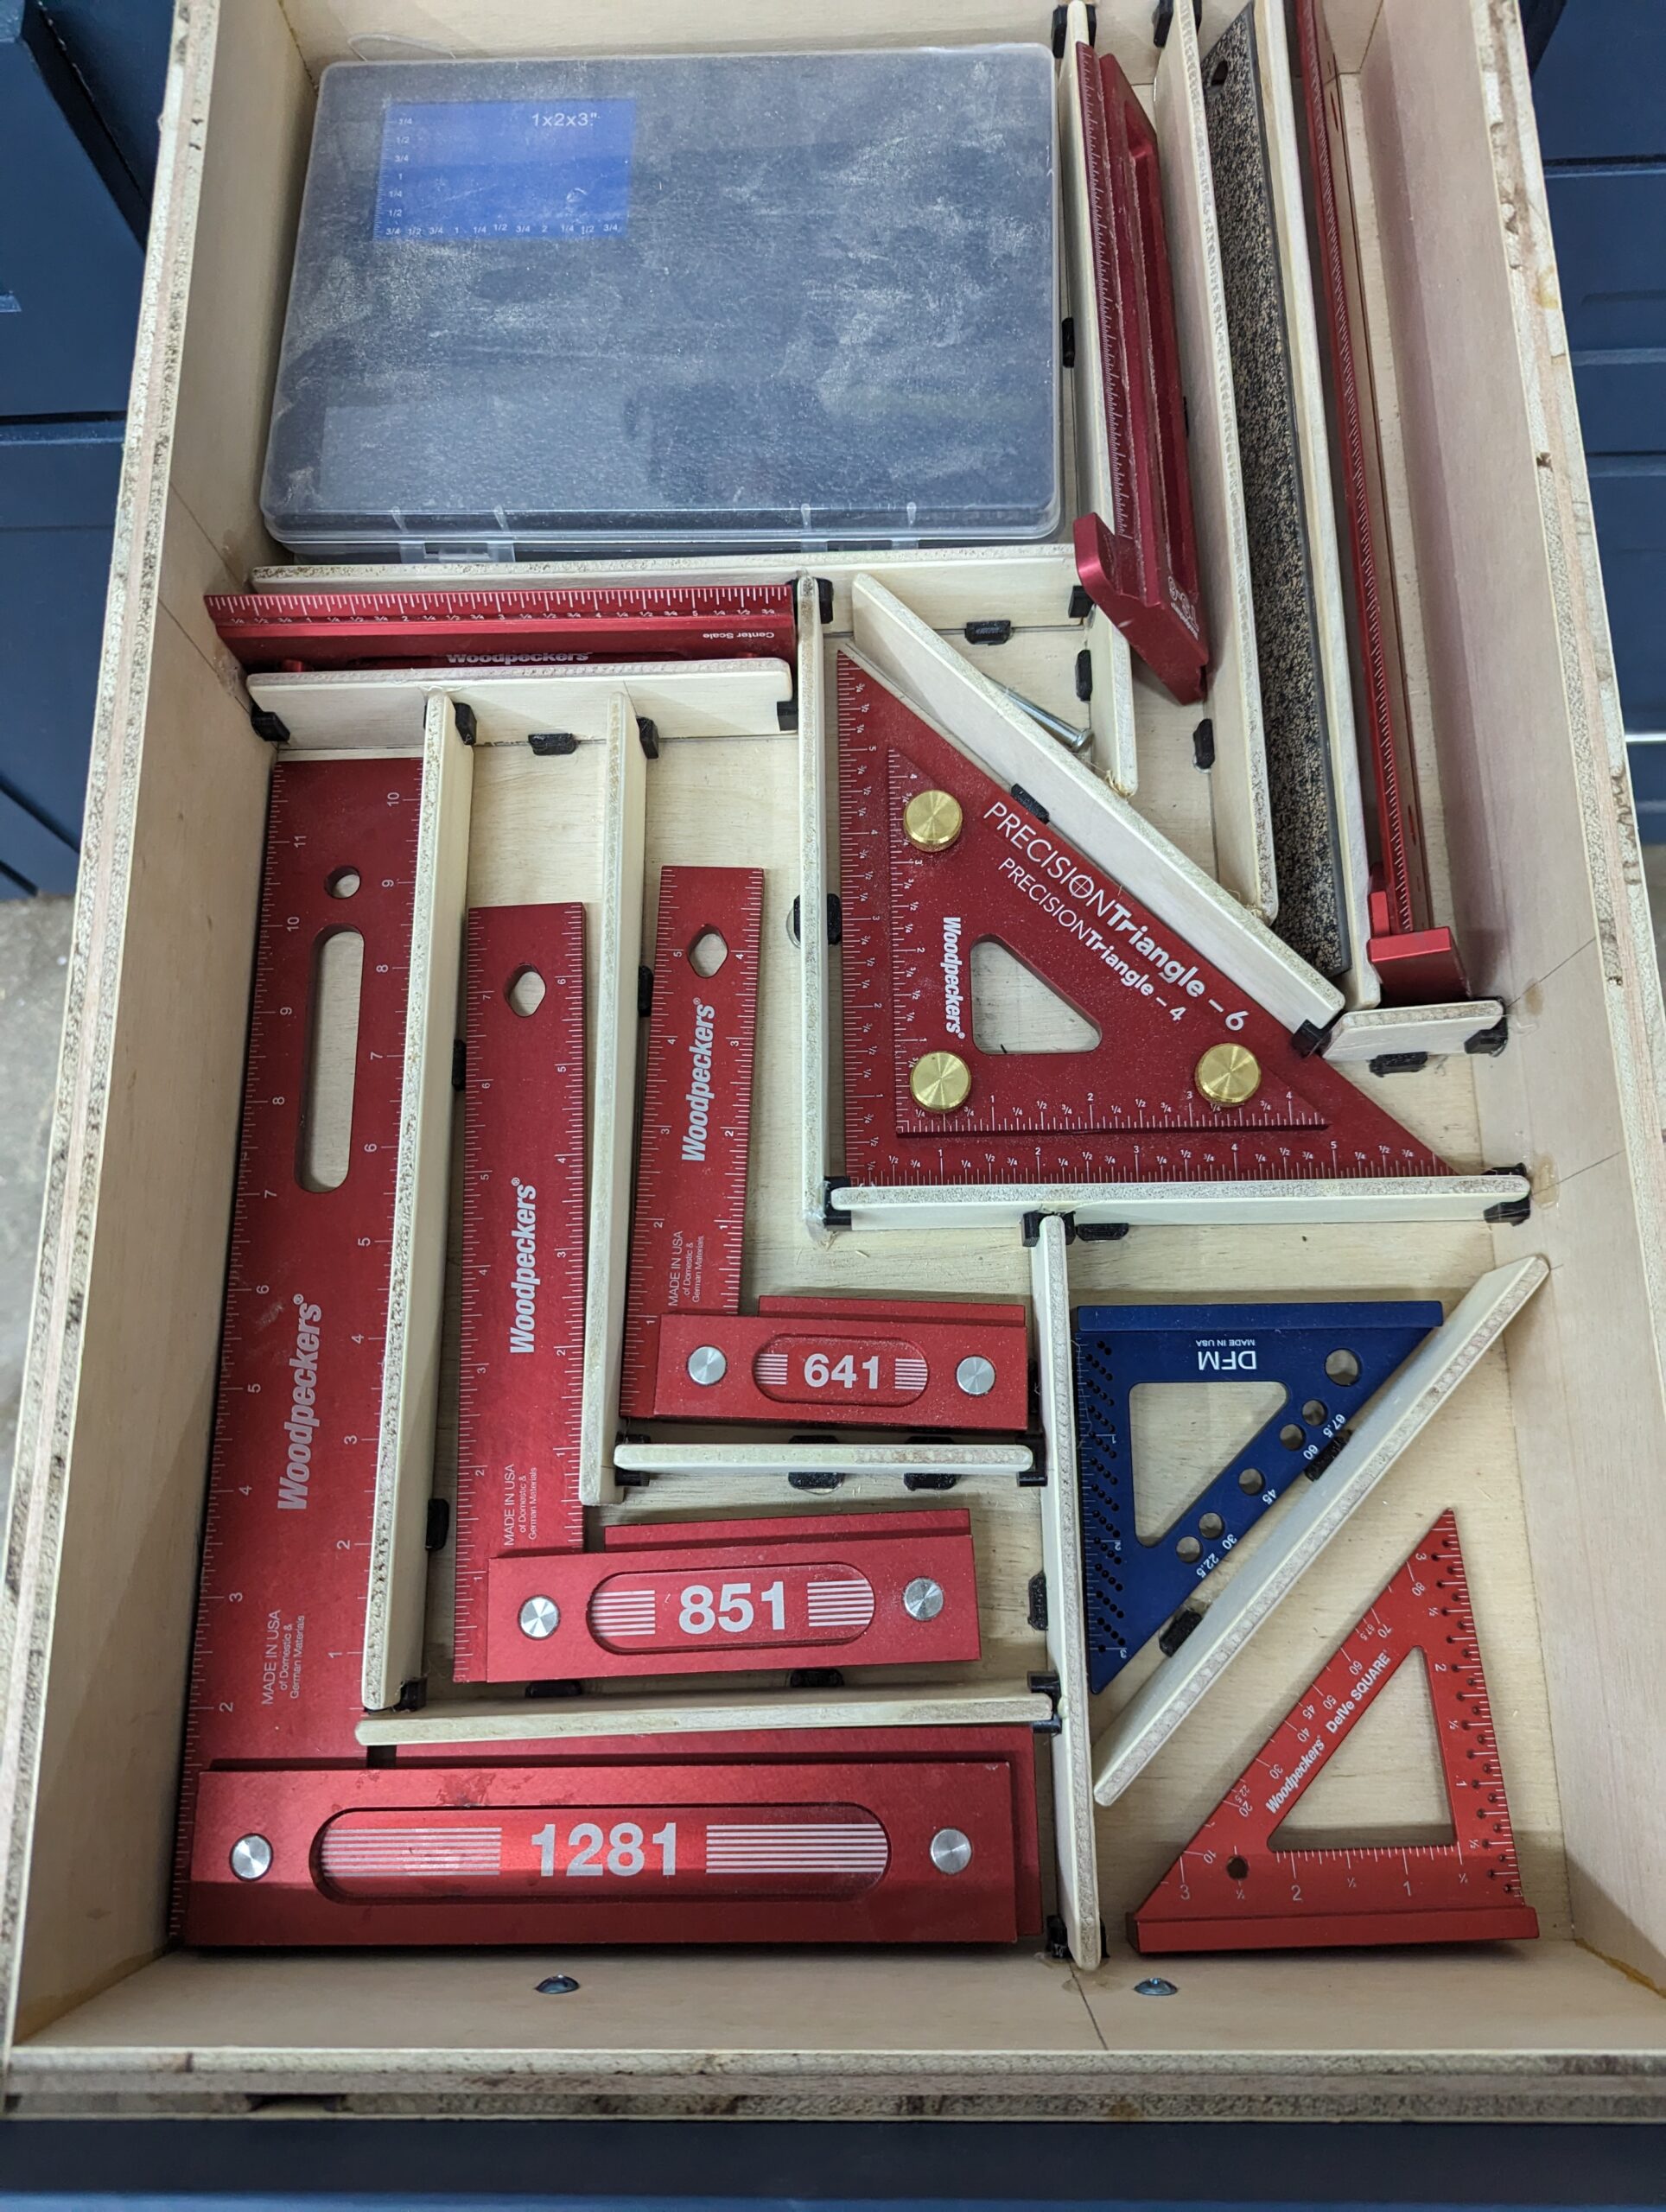
Final step is to replace your tools in their appropriate slot!