Convert SketchUp Model To SVG Format for CNC or Laser
One major frustration that I have found when designing a 3D model is trying to obtain a SVG file of that model for CNC or laser use. This walkthrough will show you how to go from Sketchup to SVG completely free!
Most available modeling software either (1) doesn’t offer SVG export for free / hobbyist use, (2) has a very steep learning curve, or (3) does not have robust enough modeling abilities.
I generally use SketchUp for my 3D modeling – I used to use the FaceSVG plugin to export however SketchUp has decided to make the extension warehouse a Pro feature only and I cannot justify the annual $350 subscription for the very small amount of 3D modeling work that I do.
After spending many hours trying to find a way to make SVGs from my SketchUp Web models including trying multiple file converters online and trying to learn alternative modeling platforms (fusion 360, SketchUp, tinkercad, blender, etc). I finally stumbled into a solution – while it does require multiple steps, it is completely free and offers similar results to the FaceSVG plugin that is no longer usable with free Sketchup accounts. Follow along for how to convert your SketchUp Free files to SVG’s for CNC and Laser use – I will be using my miter saw zero clearance insert model as the example in this post.
Requirements
SketchUp account
Tinkercad account
Easel account (or other CNC/Laser software)
Step 1: Design in SketchUp Free / Web
Open SketchUp Free in your web browser.
Design your product using SketchUp’s tools and features.
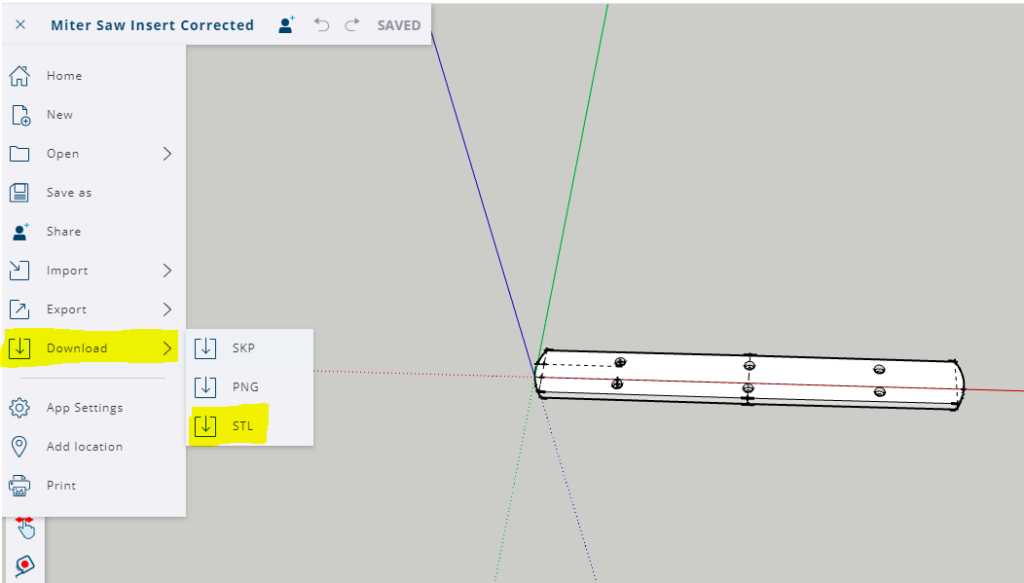
Step 2: Download as .STL File
Once your design is complete, go to the “File” menu.
Select “Download” and choose the “STL” format. This option is available on the free web version.
Step 3: Sign into Tinkercad
Open your web browser and go to the Tinkercad website.
Sign in with your Tinkercad account credentials.
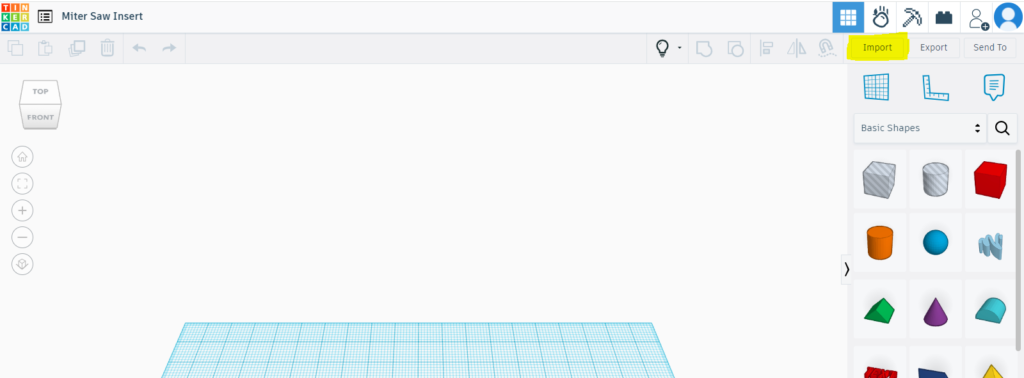
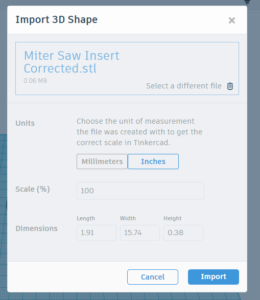
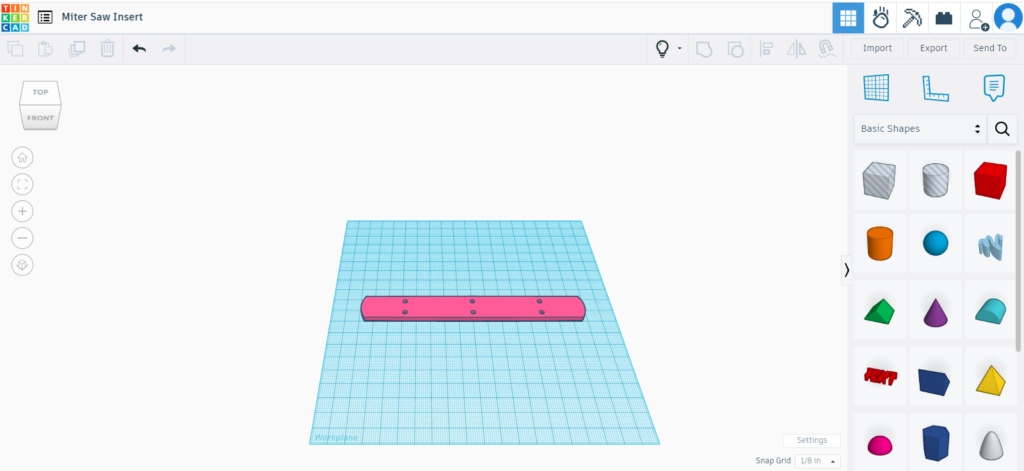
Step 4: Import .STL File of SketchUp Model
In Tinkercad, create a new project.
Import the STL file exported from SketchUp. Ensure that the dimensions are accurate during the upload.
Step 5: Re-orient STL File to Correct Position
Rotate or re-orient the STL file within Tinkercad so that the face of the object for SVG export is facing the bottom and even with the plane (blue square in the example to the right).
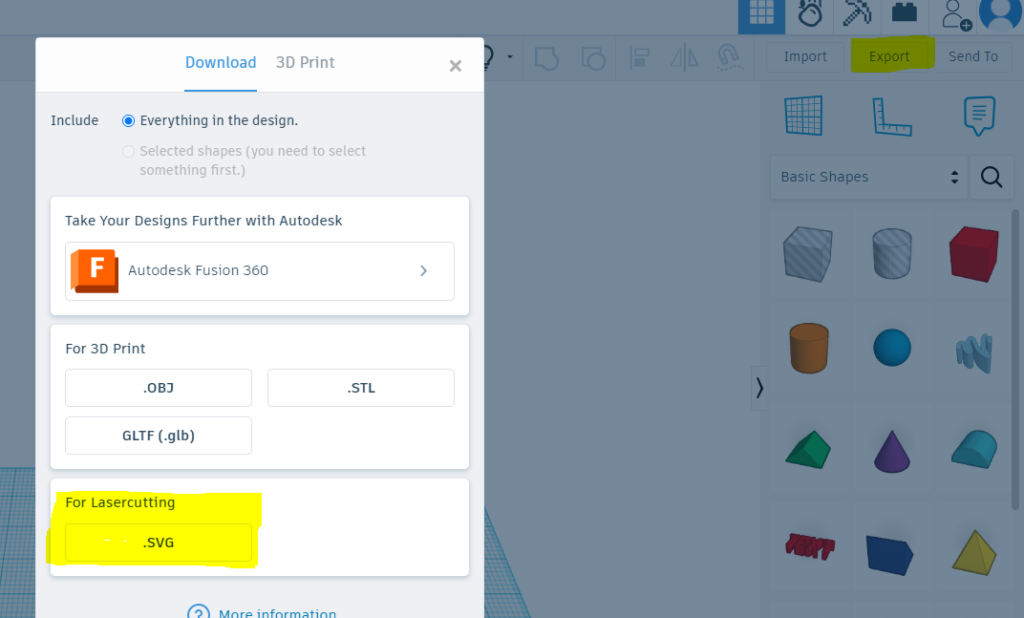
Step 6: Export as .SVG File
Once oriented correctly, export the design as an SVG file from Tinkercad.
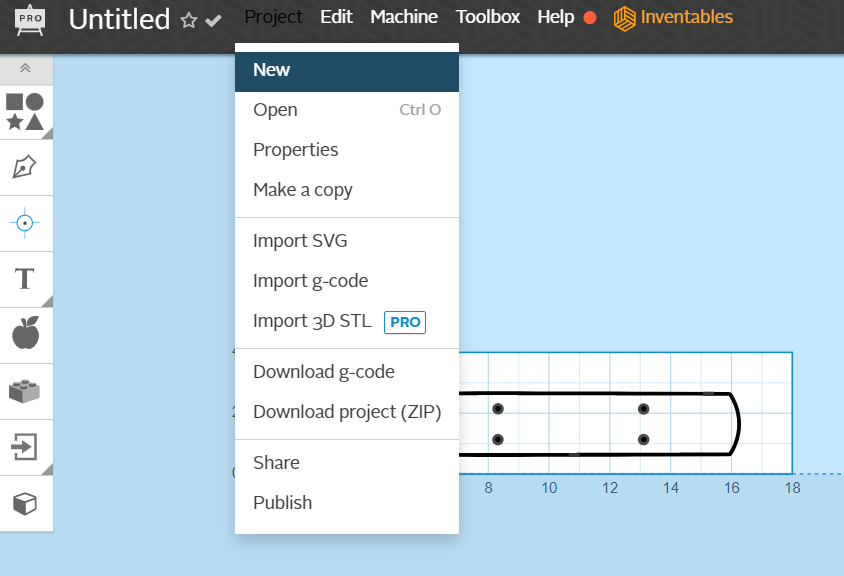
Step 7: Upload the SVG to Easel (or other Laser / CNC Software)
Sign in to Easel or the CNC/Laser software of your choice.
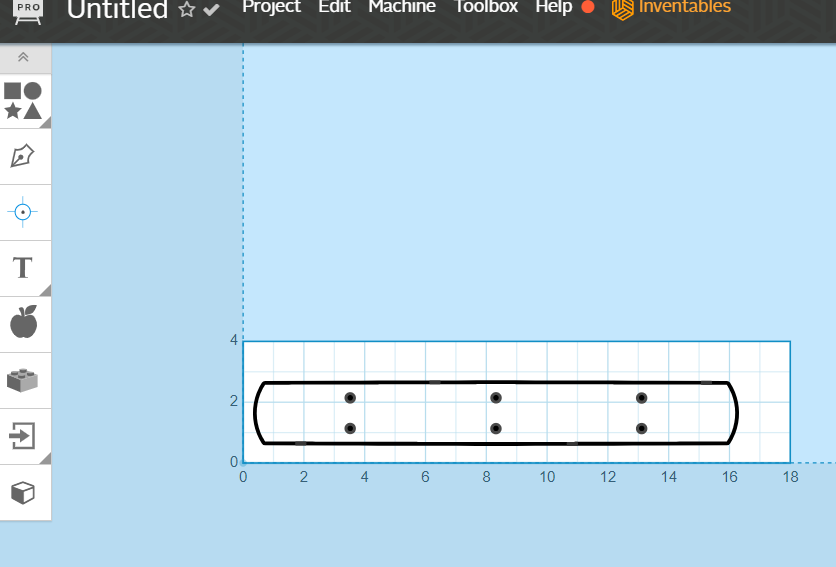
Upload the SVG file and ensure the dimensions are accurate.
Step 8: Make Edits as Needed
Make any necessary edits or adjustments to the design within the CNC/Laser software.
Step 9: Laser or CNC the converted SVG file!
Follow the instructions provided by the CNC/Laser software to execute the cutting or engraving process.
Hopefully this solution was able to help you successfully convert your SketchUp models to SVG files for CNC and Laser utilization.