Wood finish is an essential aspect of woodworking, providing protection and enhancing the natural beauty of the wood. There are many commercially available finishes available for different applications – polyurethane, spar urethane, lacquers, varnishes, shellac, oils, hardwax, etc. Generally with commercial finishes, I have found as protection increases, you lose the wood “feel” which is something that I really enjoy in my projects. As I have continued to grow in my woodworking skills, I wanted to develop a DIY wood finish that not only looked great and provided a high level of protection, but maintained the wood feel and texture.
In this article, we will explore a DIY wood finish that I make and that consists of two parts. Part 1 is a mixture of boiled linseed oil, mineral spirits, and oil-based satin polyurethane. Part 2 is a blend of boiled linseed oil, mineral spirits, and a wax mix of beeswax and carnauba wax. We will also discuss the application process and the pros and cons of this particular wood finish.

Mix Boiled Linseed Oil, Mineral Spirits, and Satin Oil Based Polyurethane in a 1:1:1 mixture by volume.
I usually do 250 mL of each component at a time and mix it in a 16 ounce mason jar.
In a double boiler – create a wax mixture of 90% beeswax by weight and 10% carnauba wax bey weight.
Once the wax has been made, mix Boiled Linseed Oil, Mineral Spirits, and the wax mixture in a 1:1:1 ratio by weight.
I usually do about 5 ounces of each component at a time and store it in a 16 ounce mason jar.
***Caution: Mineral spirits is very flammable and this should only be done with utmost caution and without an open flame. I recommend adding all components to the mason jar before any heating and then place the jar in the double boiler set up to minimize risk.
Start by preparing the wood surface by sanding to at least 180 grit and ensuring it is clean and free from any dust or debris. Then, using a lint-free cloth, apply Part 1 of the wood finish by wiping the mixture onto the wood liberally and ensuring even coverage.
Allow the applied finish to sit on the wood for approximately 10-15 minutes. This gives the finish time to penetrate into the wood and provide protection. After the designated time, wipe off any excess product that remains on the surface.
Let the wood sit undisturbed for a minimum of 24 hours. This allows the finish to cure and develop its protective properties.
After the initial 24-hour curing period, lightly sand the wood surface using a maroon Scotch-Brite pad or 400-grit sandpaper. This step helps to smooth out any imperfections and prepares the surface for the next coat.
Once the sanding is complete, repeat the application process outlined in Step 1. Apply Part 1 of the wood finish, let it sit for 10-15 minutes, wipe off any excess, and allow the wood to cure for another 24 hours.
Repeat this process for a total of three coats. Each coat adds an additional layer of protection and enhances the overall durability of the wood finish.
For low use or decorative projects, a single application of part 1 of the finish is usually sufficient.
I recommend 3 coats for heavy use projects to build up additional protection
Once the final coat of Part 1 has dried for at least 24 hours, it is time to apply Part 2 of the wood finish.
To apply Part 2, buff the wax mixture onto the wood surface using a clean cloth or buffing pad. Ensure that the wax is evenly distributed and covers the entire surface. Immediately after applying the wax, buff off any excess product using a separate clean cloth.
Allow the wood to sit undisturbed for another 24 hours. This gives the wax time to cure and provides another protective layer on top of the previous coats.
After the 24-hour curing period, lightly buff the wood surface using a clean cloth or buffing pad. This step helps to enhance the natural glow of the wood and ensures a smooth and polished finish.
At this point, the wood finish is complete. It is important to note that no additional coats of Part 2 should be applied (only a single coat). The final buffing is the last step in the process.
The wax layer may feel tacky for up to 48 hours after final buffing. This is a normal part of the drying and curing process.
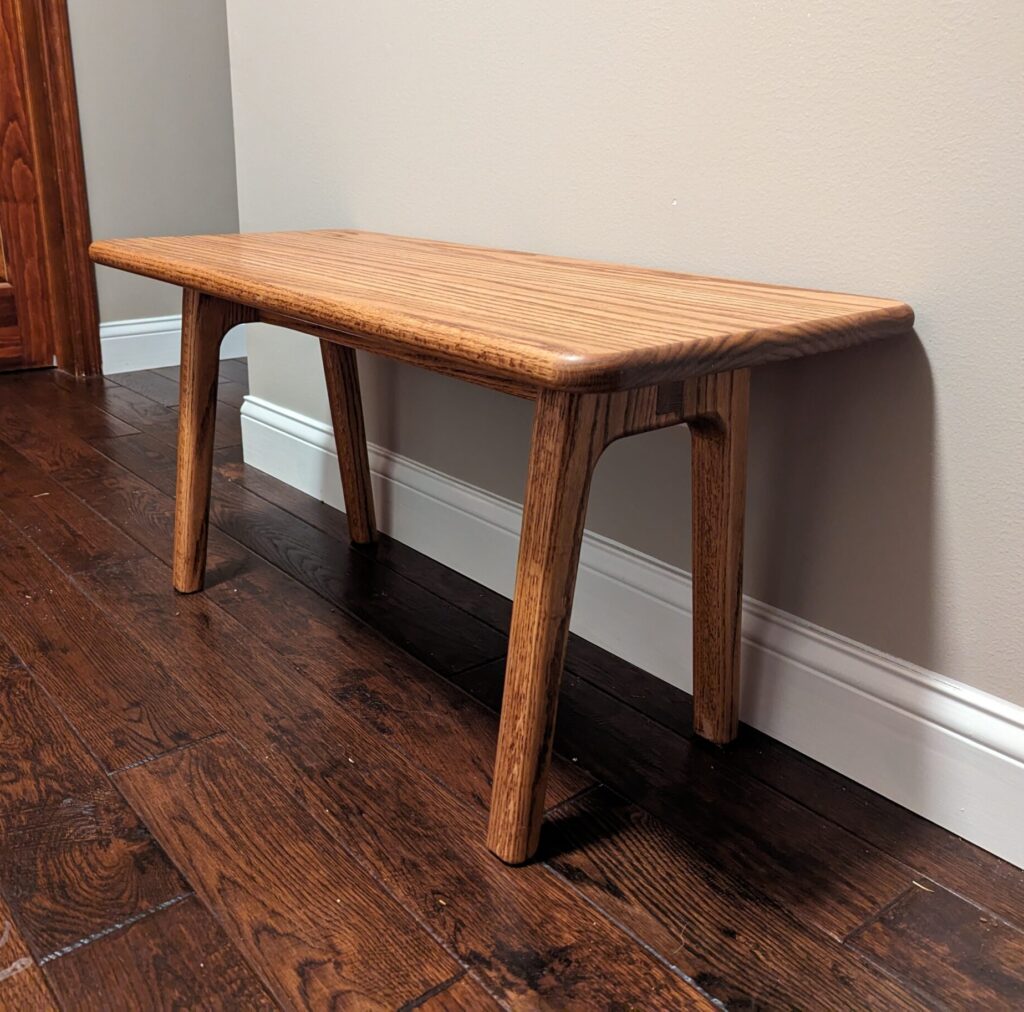
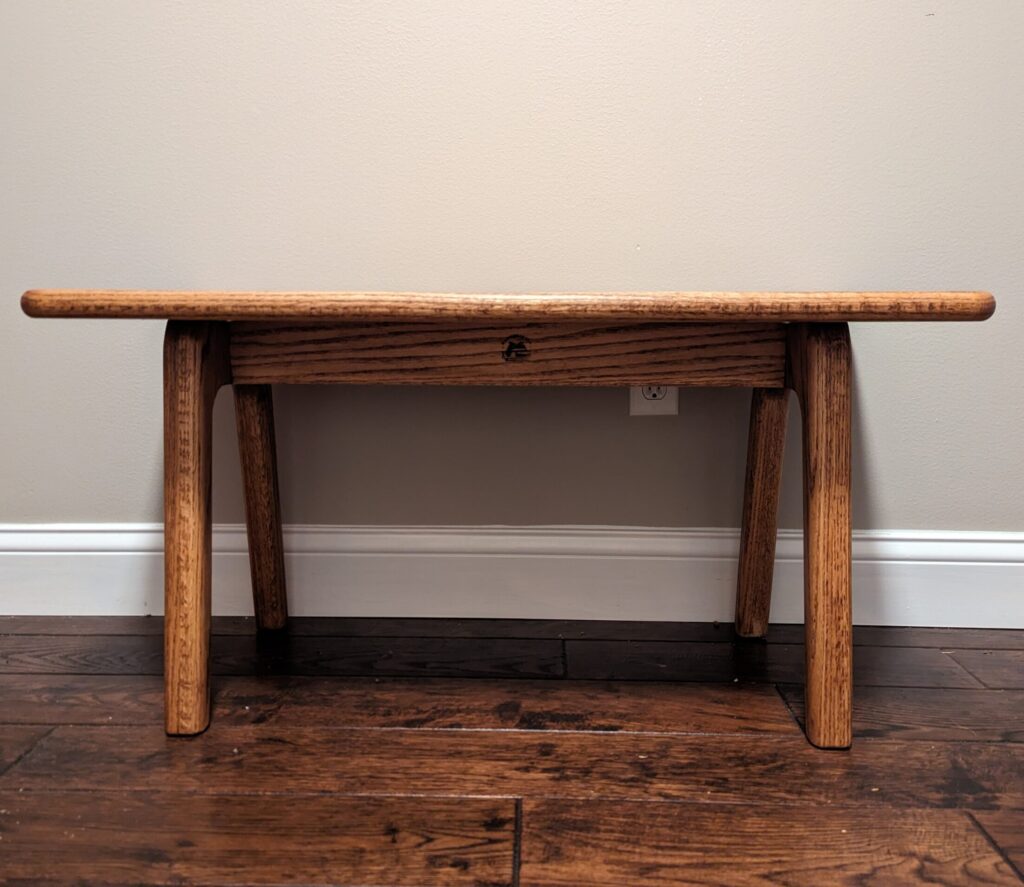
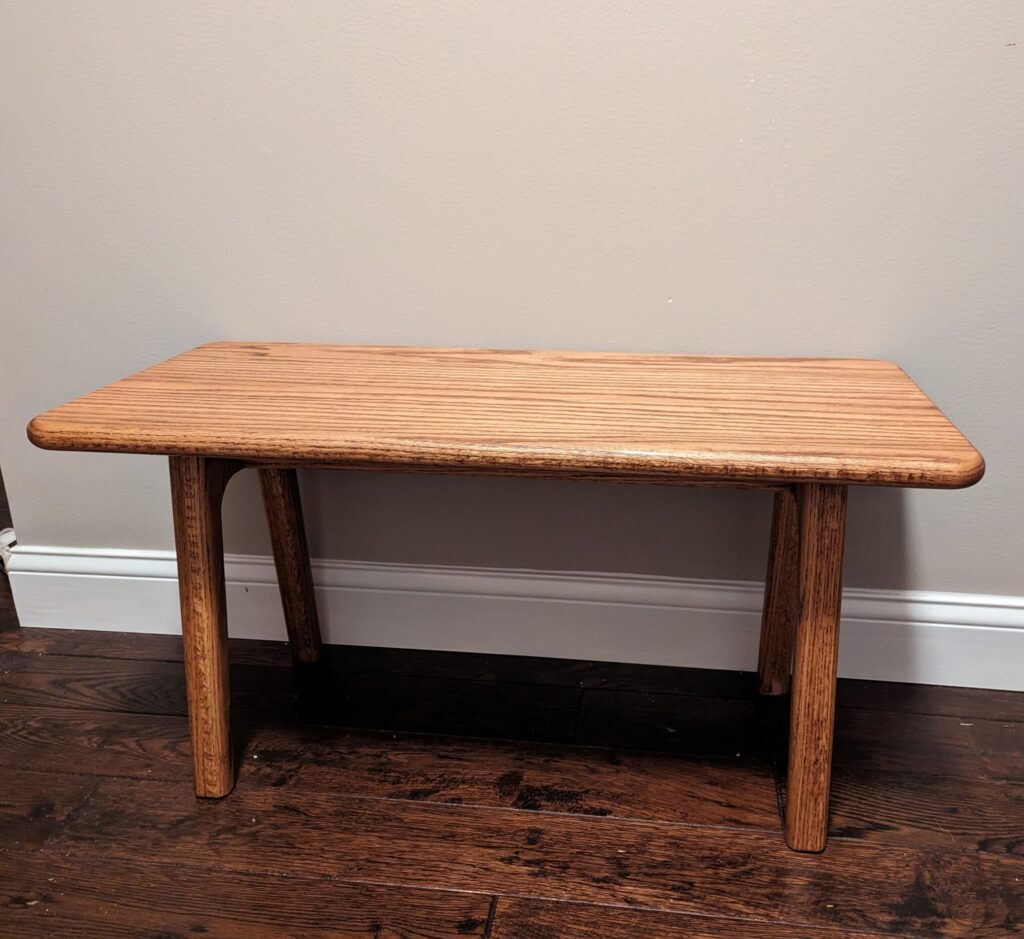
In conclusion, the development and application of this DIY wood finish provides an effective way to protect and enhance the natural beauty of wood. By following the outlined application process and considering the pros and cons, woodworkers can achieve a durable finish that maintains the integrity, feel, and texture of the wood.
An example of a recent piece that I used this finish on is the Welcome Bench, which is pictured below and can be read about here.